

您有一个AI代理,希望它能在安全的环境中运行,拥有适当的资源(如文件系统),并能执行命令(例如shell命令),而无需担心“破坏任何东西”。那么,您有哪些选择?
最好的方法是给AI代理一个沙箱。在沙箱内部,代理可以安全地与Linux机器交互,处理文件系统,并运行特定命令,同时被限制执行潜在有害的操作。
通过这种设置,我们可以构建强大的应用程序。例如,一个编码代理可以:
- 在文件系统中创建和编辑代码文件
- 运行git、python或node等命令
- 通过直接在环境中执行和测试代码与开发者协作
在本文中,我们将逐步构建这样一个编码代理。我们将使用支持函数调用的Novita大语言模型,搭配Novita Agent Sandbox作为安全环境。最后,我们将用Gradio创建一个用户友好的界面,并将其部署在Hugging Face Spaces上。
让我们开始吧!
Agent Sandbox
Novita的Agent Sandbox是一个专为AI代理设计的运行时环境。它提供了一个安全且隔离的云端设置,功能类似于虚拟计算机。在此环境中,代理可以安全地执行生成的代码,而不会对底层系统造成风险。
Novita Agent Sandbox的主要特点
- 安全: 沙箱完全隔离,因此代理只能访问自己的资源。
- 快速启动: 新环境在不到200毫秒内启动。
- 虚拟机: 由于沙箱类似于虚拟机,代理可以用任何编程语言运行代码。
- 暂停和恢复: 您可以随时暂停沙箱,之后再恢复。
- 后台任务: 代理可以运行后台任务并异步获取结果。
安装SDK
要使用Novita Sandbox,您需要安装SDK,它支持Python和TypeScript/JavaScript。本教程中,我们将使用Python SDK:
pip install novita-sandbox
安装后,将Novita API密钥设置为环境变量:
export NOVITA_API_KEY=your_api_key_here
测试沙箱
一切就绪后,让我们创建沙箱并运行一些基本操作:
from novita_sandbox.code_interpreter import Sandbox

sandbox = Sandbox.create()

files = sandbox.files.list("/")

for file in files:
    print(file.name)

result = sandbox.commands.run('pwd')
print(result)

sandbox.kill()
这个示例展示了如何:
- 创建沙箱实例
- 使用
files对象访问文件系统 - 使用
commands.run方法执行命令 - 完成后使用
kill释放资源
既然我们已经了解了访问文件系统和运行命令的基础知识,就可以开始构建一个利用这些沙箱功能的编码代理了。
构建编码代理
要构建我们的编码代理,我们需要一个支持函数调用的大语言模型。Novita提供了多种可实现此功能的模型。为了让我们的代理表现得像编码助手,它必须拥有合适的函数集。
让我们想想人类程序员会做什么。他们通常会编写、读取和执行代码。因此,我们的代理应该能够:
- 写入文件
- 读取文件
- 执行命令
- 一次性写入多个文件
设置代理
由于Novita的模型与OpenAI兼容,我们可以使用OpenAI SDK与它们交互。安装它:
pip install openai
安装后,像之前一样将Novita API密钥设置为环境变量。完成后,我们可以通过添加导入来开始编码:
from openai import OpenAI
import os
import json
from novita_sandbox.code_interpreter import Sandbox
现在,创建OpenAI客户端实例:
client = OpenAI(
    base_url="https://api.novita.ai/openai",
    api_key=os.environ["NOVITA_API_KEY"],
)
这里,我们指定客户端使用Novita的基础URL而不是OpenAI的,并使用我们的Novita API密钥进行身份验证。
接下来,创建代理将要使用的沙箱实例:
sandbox = Sandbox.create(timeout=1200)
timeout参数指定沙箱应保持活动的时间。在本例中,我们设置为10分钟。
函数定义
现在我们可以定义代理将使用的函数。
1. 读取文件
该函数接收一个文件路径,并使用沙箱的files对象读取其内容。
def read_file(path: str):
    print(f"[DEBUG] read_file called with path: {path}")
    try:
        content = sandbox.files.read(path)
        print(f"[DEBUG] read_file result: {content}")
        return content  # returns string content
    except Exception as e:
        print(f"[DEBUG] read_file error: {e}")
        return f"Error reading file: {e}"
2. 写入文件
该函数将数据写入指定文件路径。
def write_file(path: str, data: str):
    print(f"[DEBUG] write_file called with path: {path}")
    try:
        sandbox.files.write(path, data)
        msg = f"File created successfully at {path}"
        print(f"[DEBUG] {msg}")
        return msg
    except Exception as e:
        print(f"[DEBUG] write_file error: {e}")
        return f"Error writing file: {e}"
3. 写入多个文件
该函数与write_file类似,但可以一次处理多个文件。
def write_files(files: list):
    print(f"[DEBUG] write_files called with {len(files)} files")
    try:
        sandbox.files.write_files(files)
        msg = f"{len(files)} file(s) created successfully"
        print(f"[DEBUG] {msg}")
        return msg
    except Exception as e:
        print(f"[DEBUG] write_files error: {e}")
        return f"Error writing multiple files: {e}"
4. 运行命令
该函数在沙箱内执行shell命令并返回标准输出。
def run_commands(command: str):
    print(f"[DEBUG] run_commands called with commands: {command}")
    try:
        result = sandbox.commands.run(command)
        print(f"[DEBUG] run_commands result: {result}")
        return result.stdout  # returns CommandResult object
    except Exception as e:
        print(f"[DEBUG] run_commands error: {e}")
        return f"Error running commands: {e}"
工具注册
现在我们有了所有函数,我们将把它们注册为工具,以便大语言模型在需要时调用。每个工具定义包括函数名称、描述和参数模式。
tools = [
    {
        "type": "function",
        "function": {
            "name": "read_file",
            "description": "Read contents of a file inside the sandbox",
            "parameters": {
                "type": "object",
                "properties": {
                    "path": {"type": "string", "description": "File path in the sandbox"}
                },
                "required": ["path"],
            },
        },
    },
    {
        "type": "function",
        "function": {
            "name": "write_file",
            "description": "Write a single file inside the sandbox",
            "parameters": {
                "type": "object",
                "properties": {
                    "path": {"type": "string", "description": "File path in the sandbox"},
                    "data": {"type": "string", "description": "Content to write"},
                },
                "required": ["path", "data"],
            },
        },
    },
    {
        "type": "function",
        "function": {
            "name": "write_files",
            "description": "Write multiple files inside the sandbox",
            "parameters": {
                "type": "object",
                "properties": {
                    "files": {
                        "type": "array",
                        "items": {
                            "type": "object",
                            "properties": {
                                "path": {"type": "string"},
                                "data": {"type": "string"},
                            },
                            "required": ["path", "data"],
                        },
                    }
                },
                "required": ["files"],
            },
        },
    },
    {
        "type": "function",
        "function": {
            "name": "run_commands",
            "description": "Run a single shell command inside the sandbox working directory",
            "parameters": {
                "type": "object",
                "properties": {
                    "command": {
                        "type": "string",
                        "description": "The shell command to run, e.g. 'ls' or 'python main.py'",
                    }
                },
                "required": ["command"],
            },
        },
    }
]
工具注册完成后,我们继续创建一个聊天循环,该循环将使用我们的代理以及我们定义的所有工具。
聊天循环
现在我们将创建一个简单的聊天循环,允许用户与编码代理交互。该循环将维护一个消息列表,并在代理请求工具调用时进行处理。
messages = []

print("💬 Enter your queries (type 'exit' to quit):")

while True:
    user_input = input("You: ")
    if user_input.lower() == "exit":
        break

    # Append user message
    messages.append({"role": "user", "content": user_input})

    # Send to model
    response = client.chat.completions.create(
        model=model,
        messages=messages,
        tools=tools,
    )

    assistant_msg = response.choices[0].message
    messages.append(assistant_msg)

    if assistant_msg.tool_calls:
        print(f"[DEBUG] Assistant requested {len(assistant_msg.tool_calls)} tool call(s).")
        for tool_call in assistant_msg.tool_calls:
            fn_name = tool_call.function.name
            fn_args = json.loads(tool_call.function.arguments)
            print(f"[DEBUG] Tool call detected: {fn_name} with args {fn_args}")
            if fn_name == "read_file":
                fn_result = read_file(**fn_args)
            elif fn_name == "write_file":
                fn_result = write_file(**fn_args)
            elif fn_name == "write_files":
                fn_result = write_files(**fn_args)
            elif fn_name == "run_commands":
                fn_result = run_commands(**fn_args)
            else:
                fn_result = f"Error: Unknown tool {fn_name}"
                print(f"[DEBUG] Unknown tool requested: {fn_name}")
            # Append result back
            messages.append({
                "tool_call_id": tool_call.id,
                "role": "tool",
                "content": str(fn_result),
            })

        # Get model's final answer with tool results
        follow_up = client.chat.completions.create(
            model=model,
            messages=messages,
        )
        final_answer = follow_up.choices[0].message
        messages.append(final_answer)
        print("Assistant:", final_answer.content)
    else:
        print("Assistant:", assistant_msg.content)

sandbox.kill()
print("[DEBUG] Sandbox terminated. 👋")
这个聊天循环保持交互运行,允许代理在需要时调用任何已注册的工具,并在用户退出时清理沙箱。
使用Gradio创建UI
我们现在有了一个功能完整的编码代理,可以与我们聊天,但通过REPL交互并不令人兴奋。让我们通过为代理添加一个简单的Gradio界面来让体验更吸引人。
创建Gradio UI很简单。我们将使用gr.ChatInterface来管理聊天交互,并将其与之前构建的逻辑连接起来。同时,我们将包含一个命令界面用于在沙箱内运行shell命令,以及一个下拉菜单用于选择要使用的模型。
为了将之前的代码更新为支持Gradio,我们将替换聊天循环和最后两行,改为以下内容:
# --- Persistent chat messages ---
messages = []

# --- Global model setter ---
def set_model(selected_model):
    global model
    model = selected_model
    print(f"[DEBUG] Model switched to: {model}")
    return f"✅ Model switched to **{model}**"

def chat_fn(user_message, history):
    global messages, model
    messages.append({"role": "user", "content": user_message})

    # Send to model
    response = client.chat.completions.create(
        model=model,
        messages=messages,
        tools=tools,
    )

    assistant_msg = response.choices[0].message
    messages.append(assistant_msg)

    output_text = ""
    if assistant_msg.tool_calls:
        print(f"[DEBUG] Assistant requested {len(assistant_msg.tool_calls)} tool call(s).")
        for tool_call in assistant_msg.tool_calls:
            fn_name = tool_call.function.name
            fn_args = json.loads(tool_call.function.arguments)
            print(f"[DEBUG] Tool call detected: {fn_name} with args {fn_args}")
            if fn_name == "read_file":
                fn_result = read_file(**fn_args)
            elif fn_name == "write_file":
                fn_result = write_file(**fn_args)
            elif fn_name == "write_files":
                fn_result = write_files(**fn_args)
            elif fn_name == "run_commands":
                fn_result = run_commands(**fn_args)
            else:
                fn_result = f"Error: Unknown tool {fn_name}"
            messages.append({
                "tool_call_id": tool_call.id,
                "role": "tool",
                "content": str(fn_result),
            })

        follow_up = client.chat.completions.create(
            model=model,
            messages=messages,
        )
        final_answer = follow_up.choices[0].message
        messages.append(final_answer)
        output_text = final_answer.content
    else:
        output_text = assistant_msg.content

    return output_text

# --- Command Interface function ---
def execute_command(command):
    if not command.strip():
        return "⚠️ Please enter a command."
    print(f"[DEBUG] Executing command from interface: {command}")
    output = run_commands(command)
    return f"```bash\n{output}\n```" if output else "✅ Command executed (no output)."

# --- Gradio UI ---
with gr.Blocks(title="Novita Sandbox App") as demo:
    gr.Markdown("## 🧠 Novita Sandbox Agent")
    gr.Markdown(
        "This app is an AI-powered **code agent** that lets you chat with intelligent assistants backed by **Novita AI LLMs**. These agents can write, read, and execute code safely inside a **Novita sandbox**, providing a secure environment for running commands, testing scripts, and managing files, all through an intuitive chat interface with model selection and command execution built right in."
    )

    with gr.Row(equal_height=True):
        # Left: Chat Interface
        with gr.Column(scale=2):
            gr.Markdown("### 💬 Chat Interface")
            gr.ChatInterface(chat_fn)

        # Right: Command Interface
        with gr.Column(scale=1):
            gr.Markdown("### 💻 Command Interface")
            # Model selector
            model_selector = gr.Dropdown(
                label="Select Model",
                choices=[
                    "meta-llama/llama-3.3-70b-instruct",
                    "deepseek/deepseek-v3.2-exp",
                    "qwen/qwen3-coder-30b-a3b-instruct",
                    "openai/gpt-oss-120b",
                    "moonshotai/kimi-k2-instruct",
                ],
                value=model,
                interactive=True,
            )
            model_status = gr.Markdown(f"✅ Current model: **{model}**")
            model_selector.change(set_model, inputs=model_selector, outputs=model_status)

            command_input = gr.Textbox(
                label="Command",
                placeholder="e.g., ls, python main.py",
                lines=1,
            )
            with gr.Row():
                run_btn = gr.Button("Run", variant="primary", scale=0)
            command_output = gr.Markdown("Command output will appear here...")
            run_btn.click(execute_command, inputs=command_input, outputs=command_output)

# --- Cleanup on exit ---
import atexit
atexit.register(lambda: (sandbox.kill(), print("[DEBUG] Sandbox terminated. 👋")))

if __name__ == "__main__":
    demo.launch()
在此版本中,chat_fn函数处理用户与代理之间的每次消息交换。gr.ChatInterface将该函数作为输入,并自动管理UI交互。
当Gradio应用程序启动时,它将在浏览器中运行您的代理,为用户提供一个干净、交互式的聊天界面。最后,我们使用atexit注册一个清理例程,以确保应用程序停止时沙箱被正确终止。
现在,我们有了一个在沙箱中安全运行的AI驱动编码代理,并配有一个友好的Gradio聊天界面。
您可以在GitHub上找到完整代码。
测试编码代理
要使用代理,我们需要将gradio代码作为脚本运行。
python gradio_chat.py
执行后,我们的gradio应用将在localhost上运行。这样我们就可以与编码代理进行对话,代理将在沙箱内执行我们的所有操作。
从gradio应用中,我们只能看到来自代理的聊天内容,但如果查看终端,我们还可以看到调试输出,即代理为了响应用户请求而调用了哪个函数。
我们拥有文件工具和命令工具,这意味着几乎所有编码任务都可以完成,但不再需要直接编码,而是向代理提供指令,让代理为我们编写和执行代码。
部署到Hugging Face Spaces
目前,我们的编码代理在本地计算机上运行。现在,让我们通过部署到Hugging Face Spaces来让世界其他地方也能访问它。Hugging Face Spaces允许我们将代码和应用程序托管在一个地方。让我们开始吧。
创建Space
前往Hugging Face并为您的编码代理创建一个新的Space,给它一个唯一的名称。
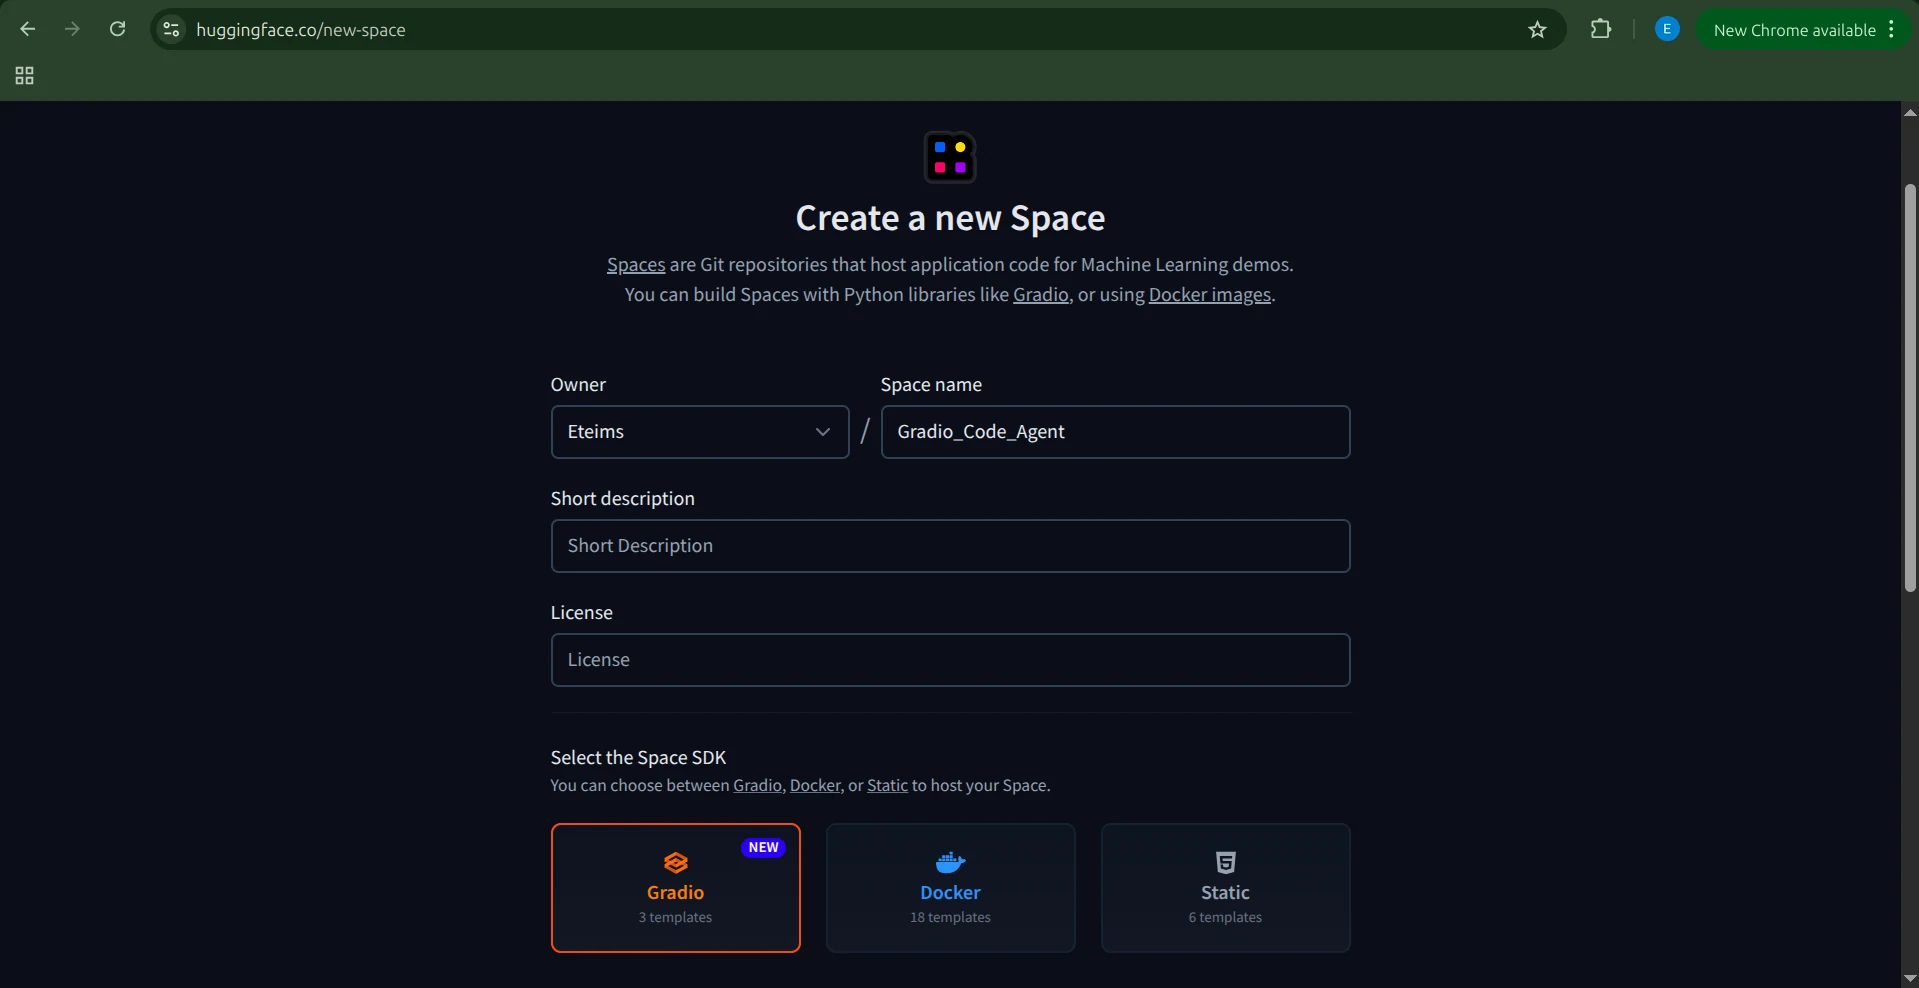
接下来,选择Space的SDK,本例中为Gradio。选择“Blank”模板,因为我们已经有应用程序代码。
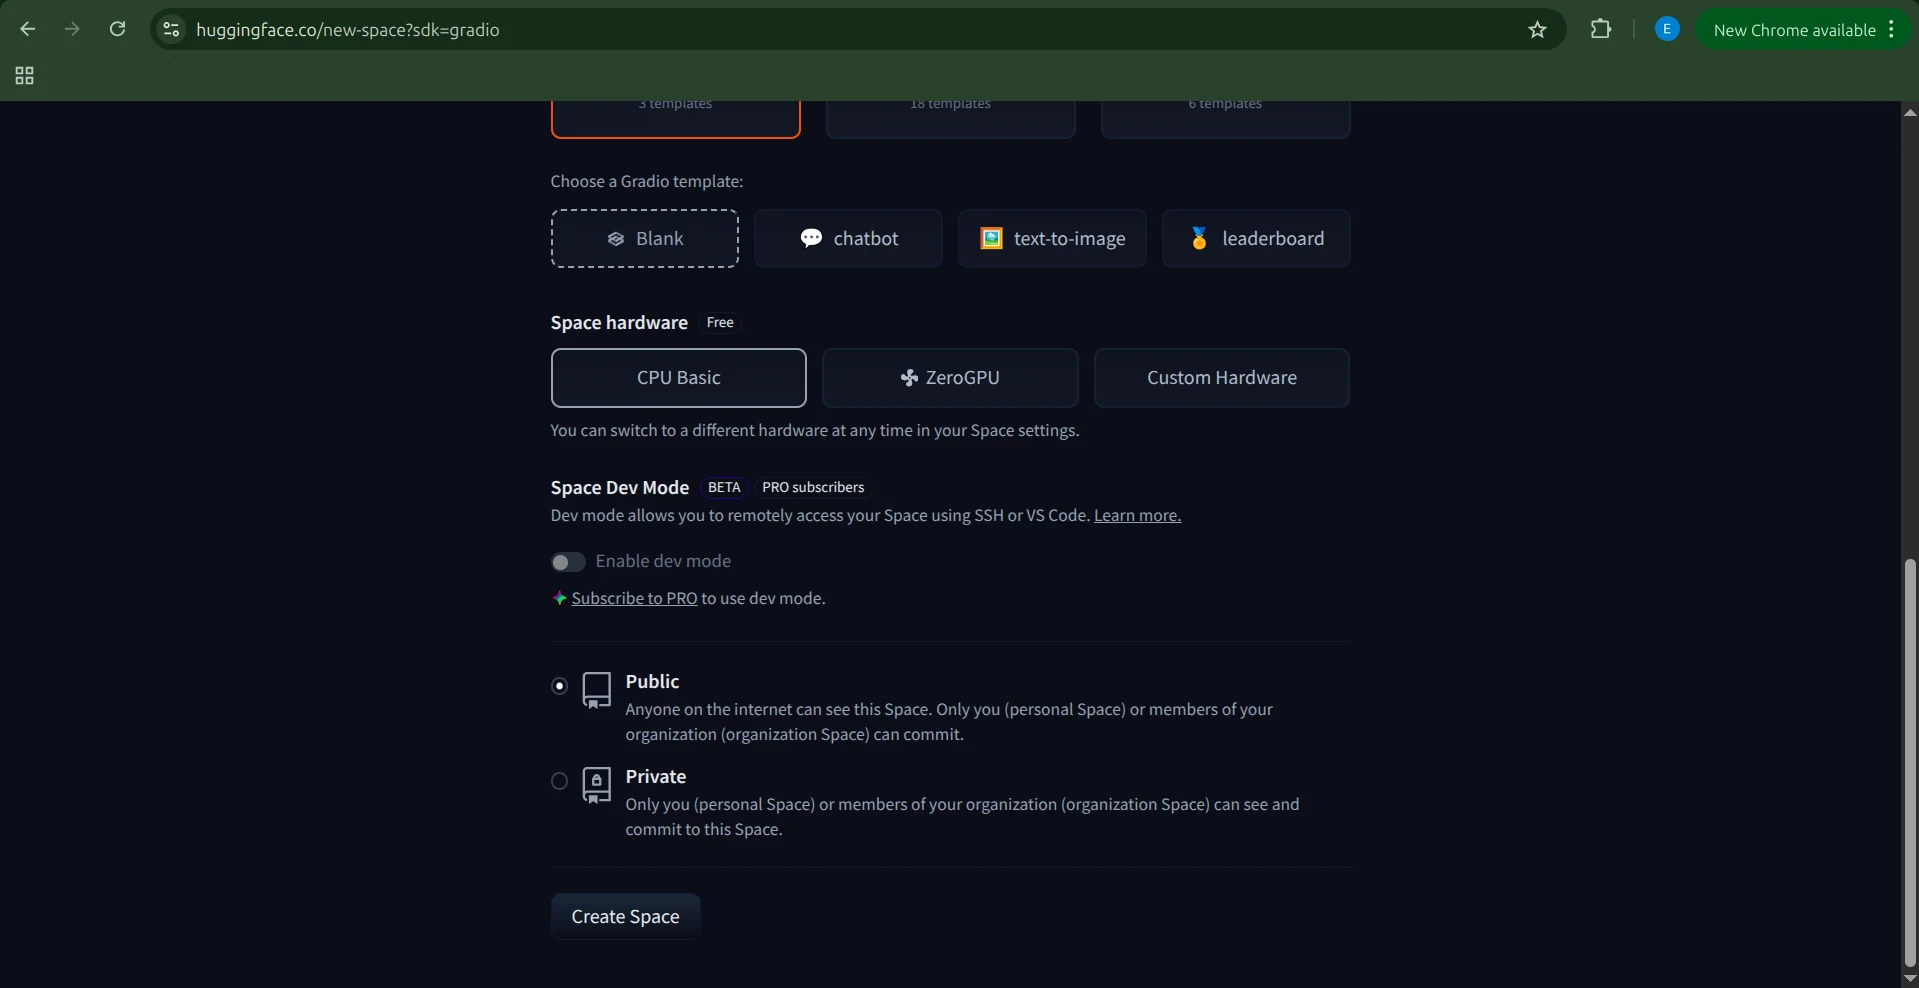
然后,选择硬件。由于我们的代理和沙箱由Novita驱动,我们不需要专门的硬件。Basic CPU选项就足够了。完成后,点击“Create Space”。
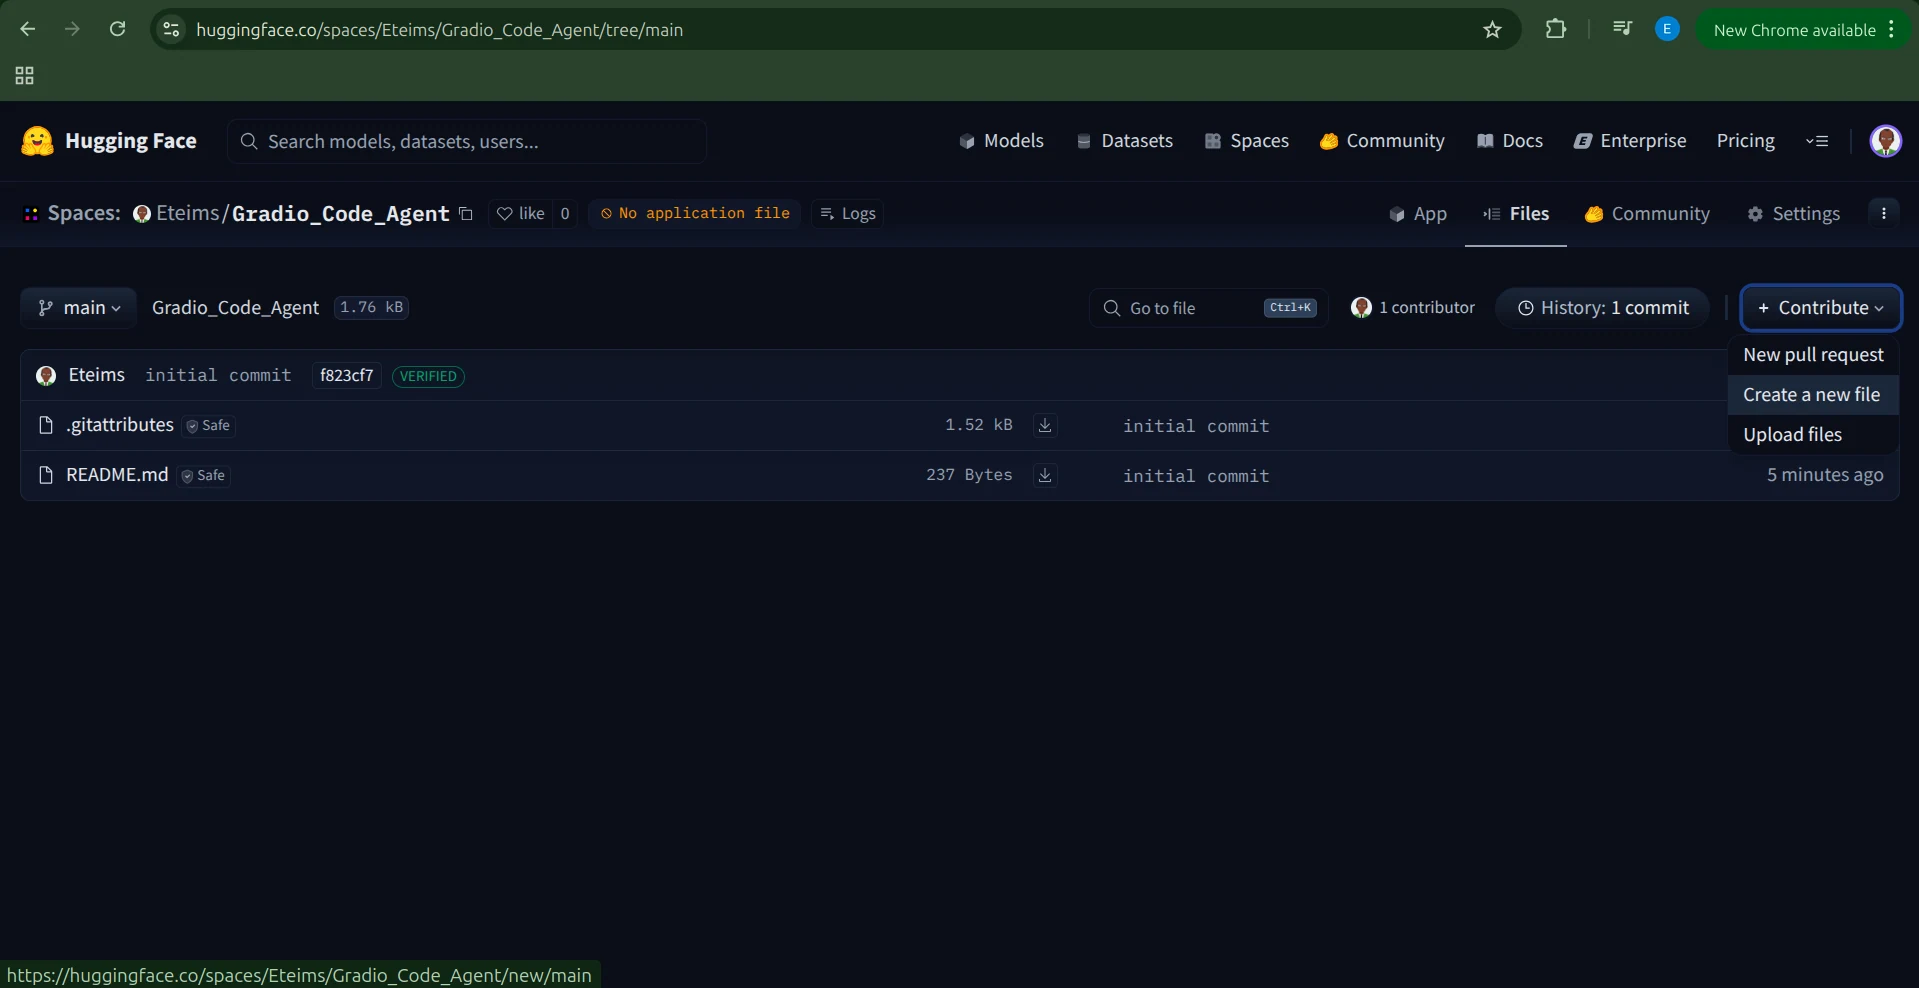
Hugging Face将创建一个包含README.md和.gitignore文件的Space。
有多种方法添加代码,但最简单的方法是点击“Contribute → Add file”。
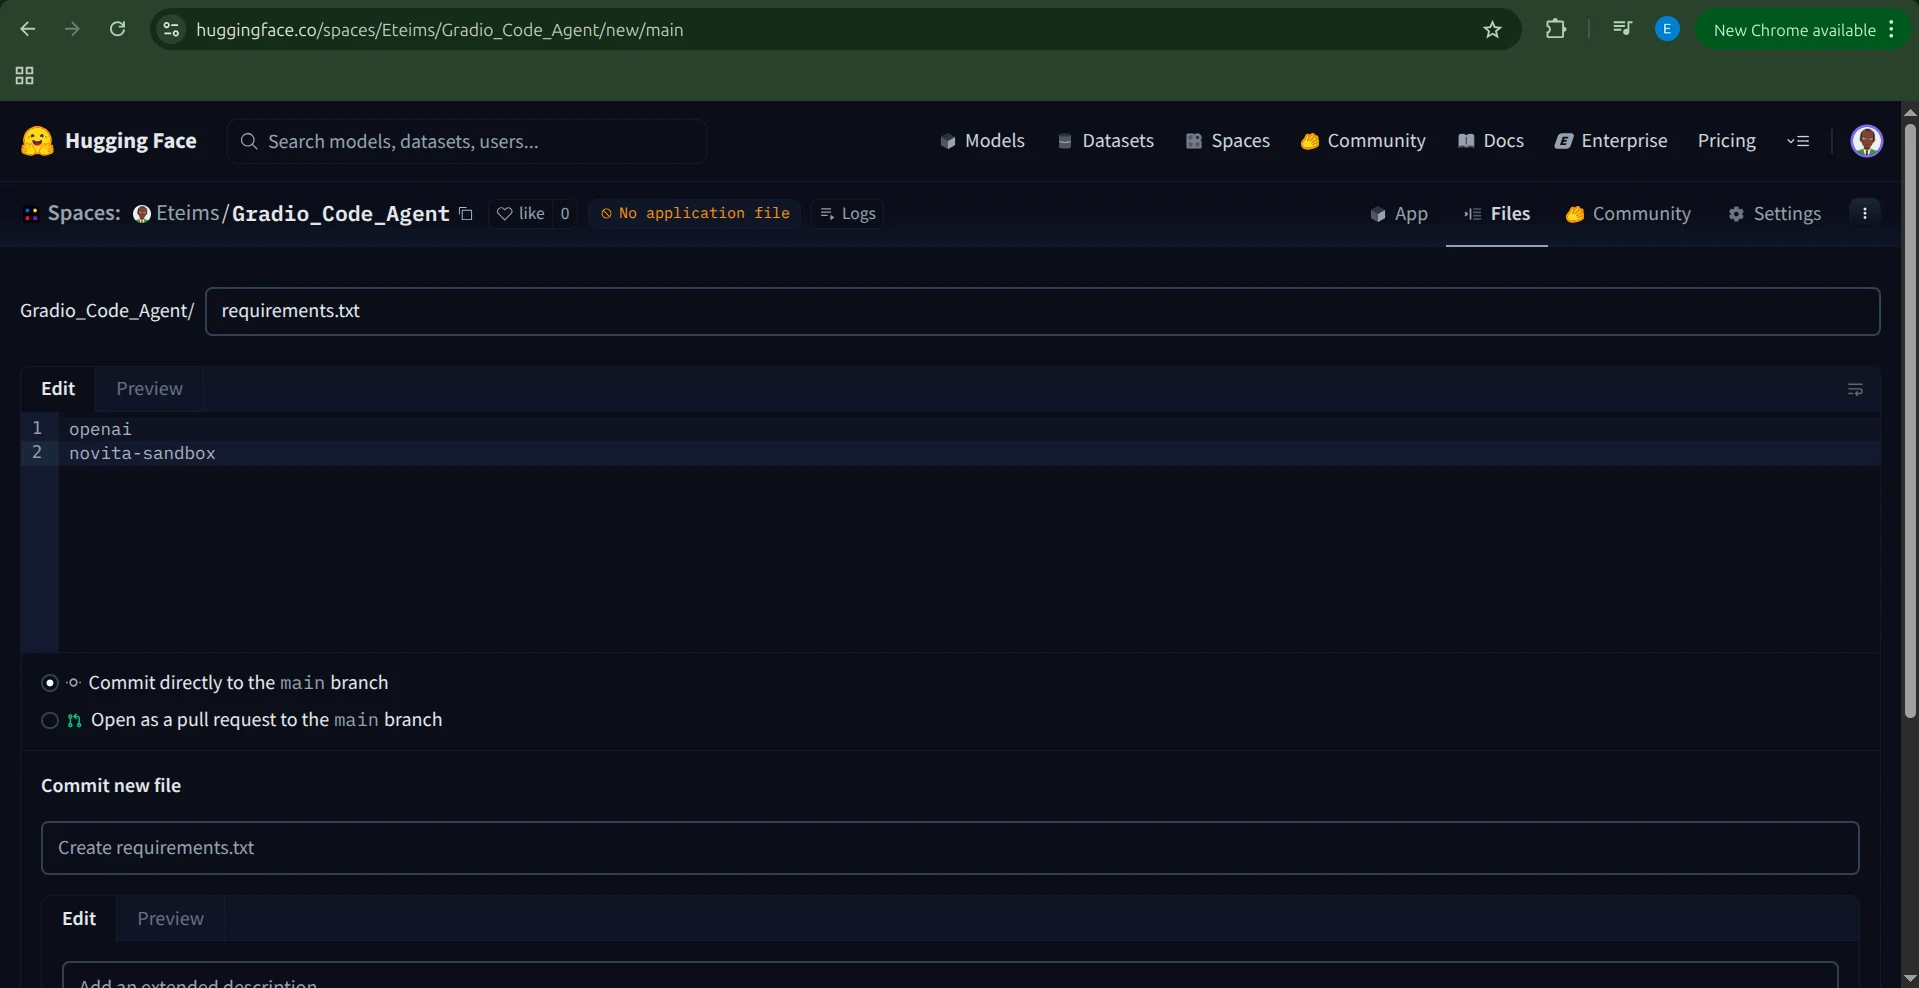
创建一个requirements.txt文件并包含以下依赖:
openai
novita-sandbox
添加环境变量
在运行应用程序之前,我们需要将NOVITA_API_KEY设置为环境变量。
为此,请导航到Space的“Settings”,滚动到“Variables and secrets”部分,添加一个名为NOVITA_API_KEY的新secret,其值为您的API密钥。
设置应用程序
设置好环境变量后,就可以创建我们的应用程序了。
创建一个名为app.py的新文件,并将完整的Gradio代理代码粘贴进去。

保存文件后,Hugging Face将自动开始构建您的Space。
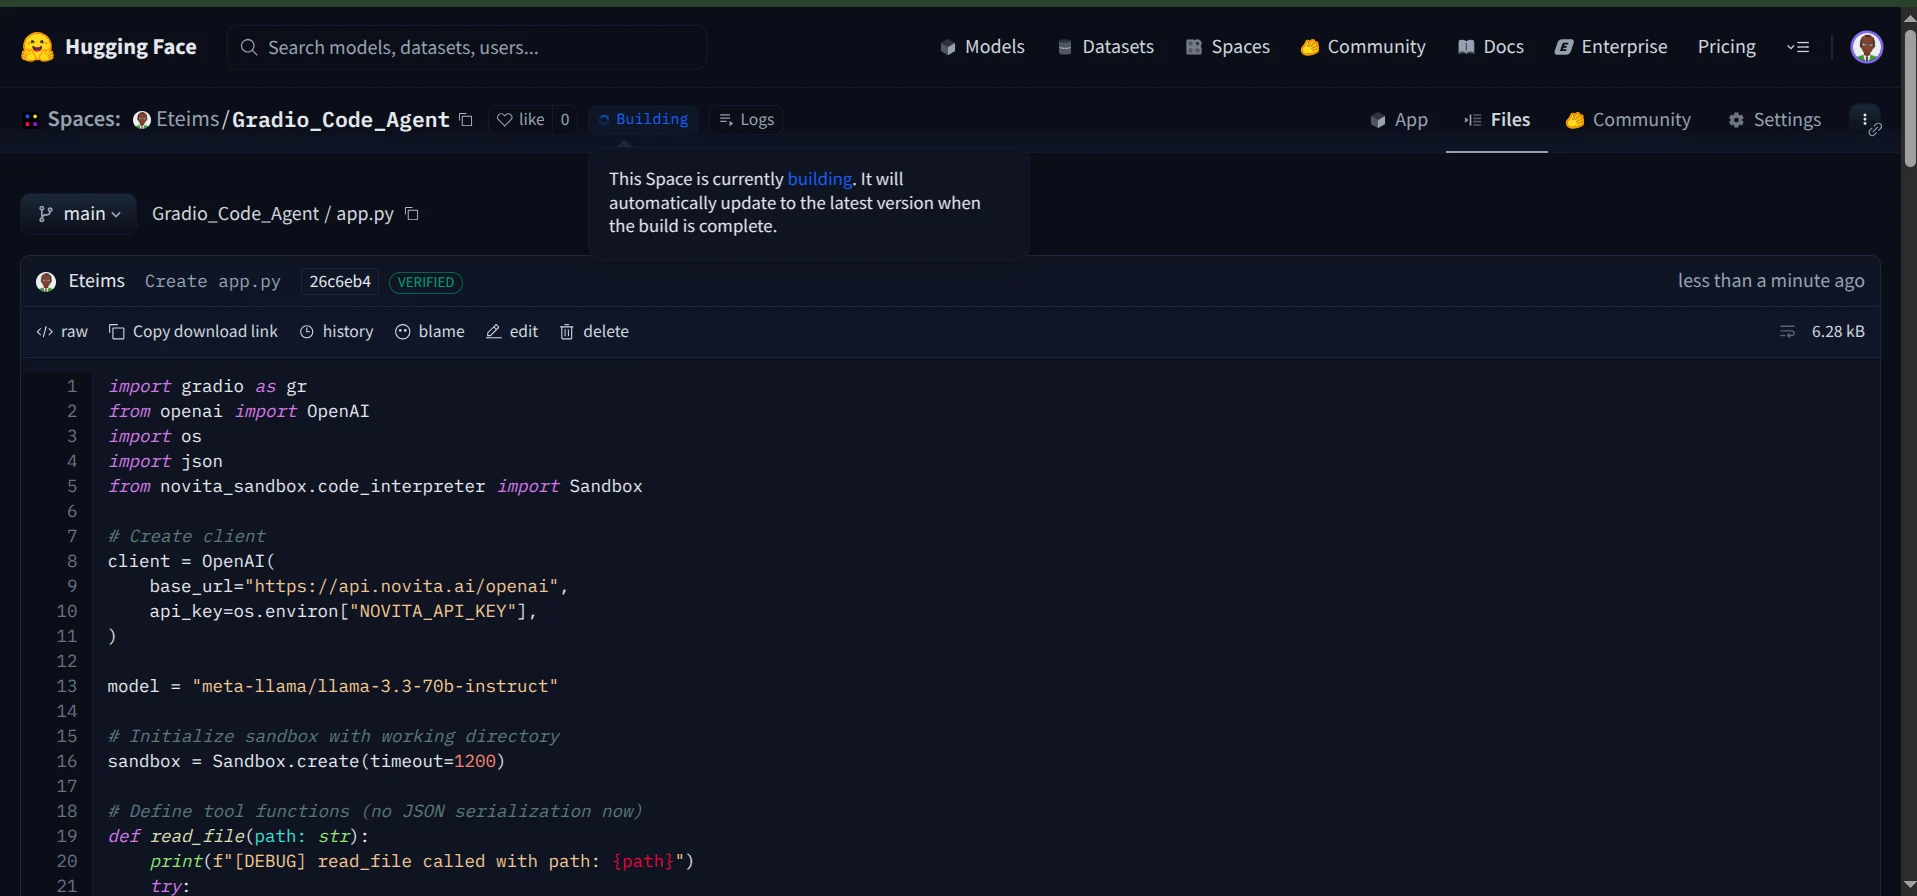
构建过程完成后,您的编码代理将上线并在Hugging Face Spaces上可访问。
您现在可以通过交互式聊天界面与代理聊天。
此外,您可以监控日志,查看代理在执行期间调用了哪些工具。
就是这样,您现在拥有了一个在安全沙箱中运行、配备Gradio界面并无缝部署在Hugging Face Spaces上的功能完整的编码代理。
结论
在本文中,我们探讨了如何利用Novita的Sandbox构建一个功能完整的编码代理,该代理能够读取和创建文件、执行命令,并在安全环境中安全地运行。
我们构建的只是一个开始。沙箱打开了无限可能的大门,从创建AI驱动的数据可视化代理到开发能够智能地与系统交互的计算机使用代理。
当您将代理与像沙箱这样的专用工具集结合时,几乎一切皆有可能。