
我們正處於一種新型軟體的黎明。在近期 YC 創業學院的開幕演講中,Andrej Karpathy 提出了 Software 3.0 的概念:這是一個自然語言成為主要程式設計介面的世界,大型語言模型同時扮演運算引擎與自主協作者的雙重角色。
不同於開發者編寫明確指令的 Software 1.0,也不同於神經網絡從資料中學習規律的 Software 2.0,Software 3.0 以自然語言為核心。我們的提示詞就是程式,大型語言模型會將我們的意圖轉換為可執行的行為。
在本教程中,我們將構建一個可遠端存取 Novita AI 沙箱的 MCP 伺服器,我們的 AI 代理可以在其中安全執行程式碼。這個代理本身將使用 mcp-use 函式庫構建,該函式庫會自動管理與 MCP 伺服器的通訊。
什麼是 MCP(Model Context Protocol,模型上下文協議)?
模型上下文協議(MCP)是由 Anthropic 開發的開放標準,用於讓 AI 模型與外部服務、工具和資料來源進行通訊。你可以把它理解為 AI 界的「USB-C」;它為代理與外部世界提供了標準化的介面。
三大核心組件:
- 工具(Tools): 伺服器公開的可呼叫函式/API(例如:網頁瀏覽、程式碼執行)。
- 資源(Resources): 伺服器提供的外部資料,通常作為 AI 代理的上下文(例如:檔案、元資料、資料集)。
- 提示詞(Prompts): 這些詳細的指令用於指導代理在與上述工具或資源互動時的行為。
如果想更深入了解 MCP 的架構與組件,可以查看我們的第一篇 MCP 伺服器構建指南
MCP 對 AI 工具整合的重要性
MCP 在 AI 代理與外部系統之間建立了雙向通訊。這讓我們可以輕鬆地將大型語言模型「插入」自訂工具,同時減少整合工作量、降低出錯機率。
mcp-use 函式庫介紹

mcp-use 是一個 Python 套件,簡化了與 MCP 伺服器互動的 AI 代理的構建流程。它負責代理的建立,並管理與 MCP 伺服器的通訊以存取外部工具和資料來源,讓你可以專注於應用程式邏輯的開發。
Novita AI 沙箱與模型 API 概述
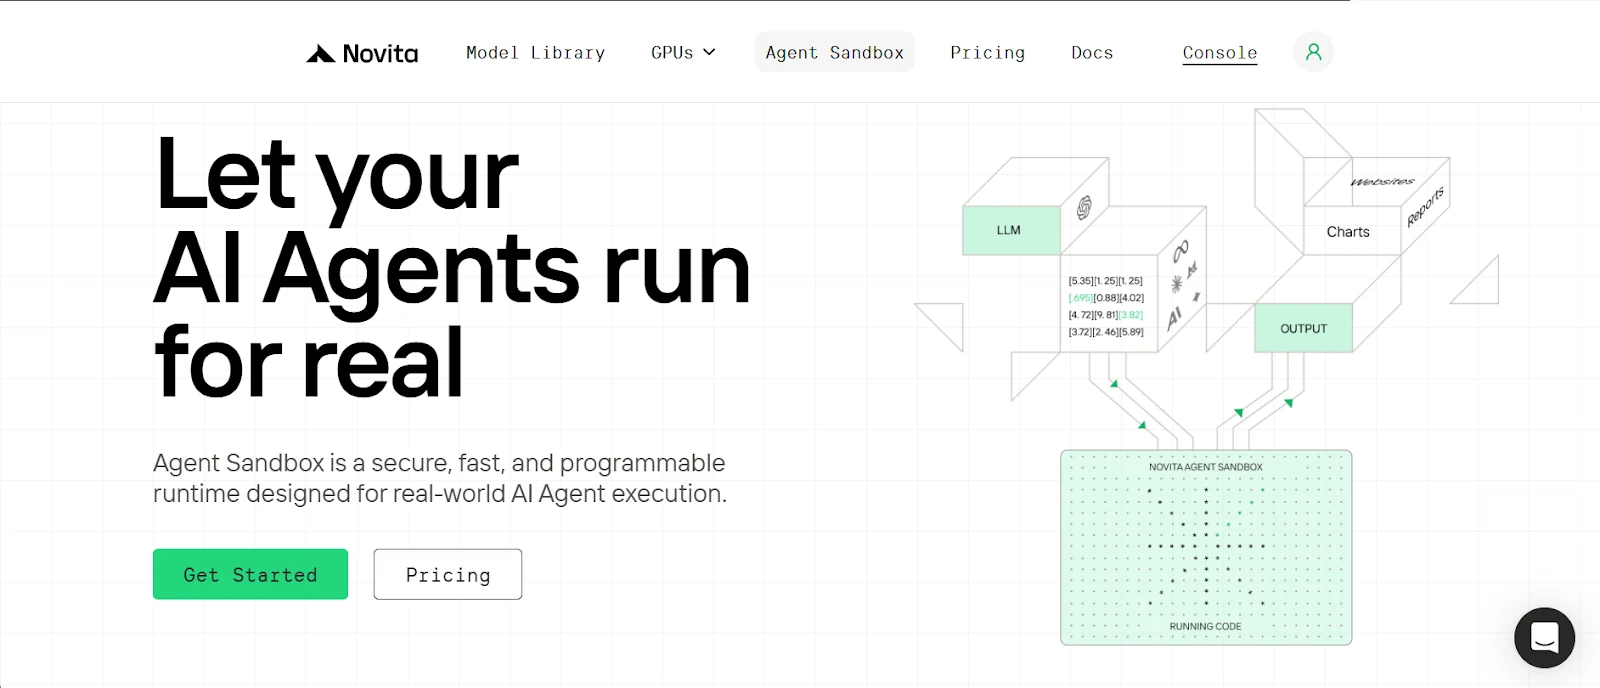
什麼是沙箱以及它為何重要
沙箱是一個安全、隔離的執行環境,可以在其中執行不受信任的程式碼,而不會影響主機系統。它本質上是為你的 AI 代理提供的一個輕量級虛擬電腦,用於執行程式碼、命令、建立檔案等操作。
Novita AI 提供雲端沙箱服務,你的代理可以隨需快速存取,並根據使用的資源彈性地按秒計費。
Novita 沙箱的核心特性:
- 安全隔離: 每個沙箱都擁有獨立的檔案系統和環境,保護資料安全並防止非預期的互動。
- 快速啟動: 沙箱實例平均啟動時間不到 200 毫秒,非常適合低延遲場景。
- 多語言支援: 你可以在沙箱中執行多種程式語言,包括 Python、JavaScript、TypeScript 等。
- 快速暫停與恢復: 可以隨時暫停沙箱,需要時再恢復,檔案系統和行程狀態會完整保留。
- 背景執行: 支援背景任務執行,適合需要等待結果的場景。
Novita 模型 API:
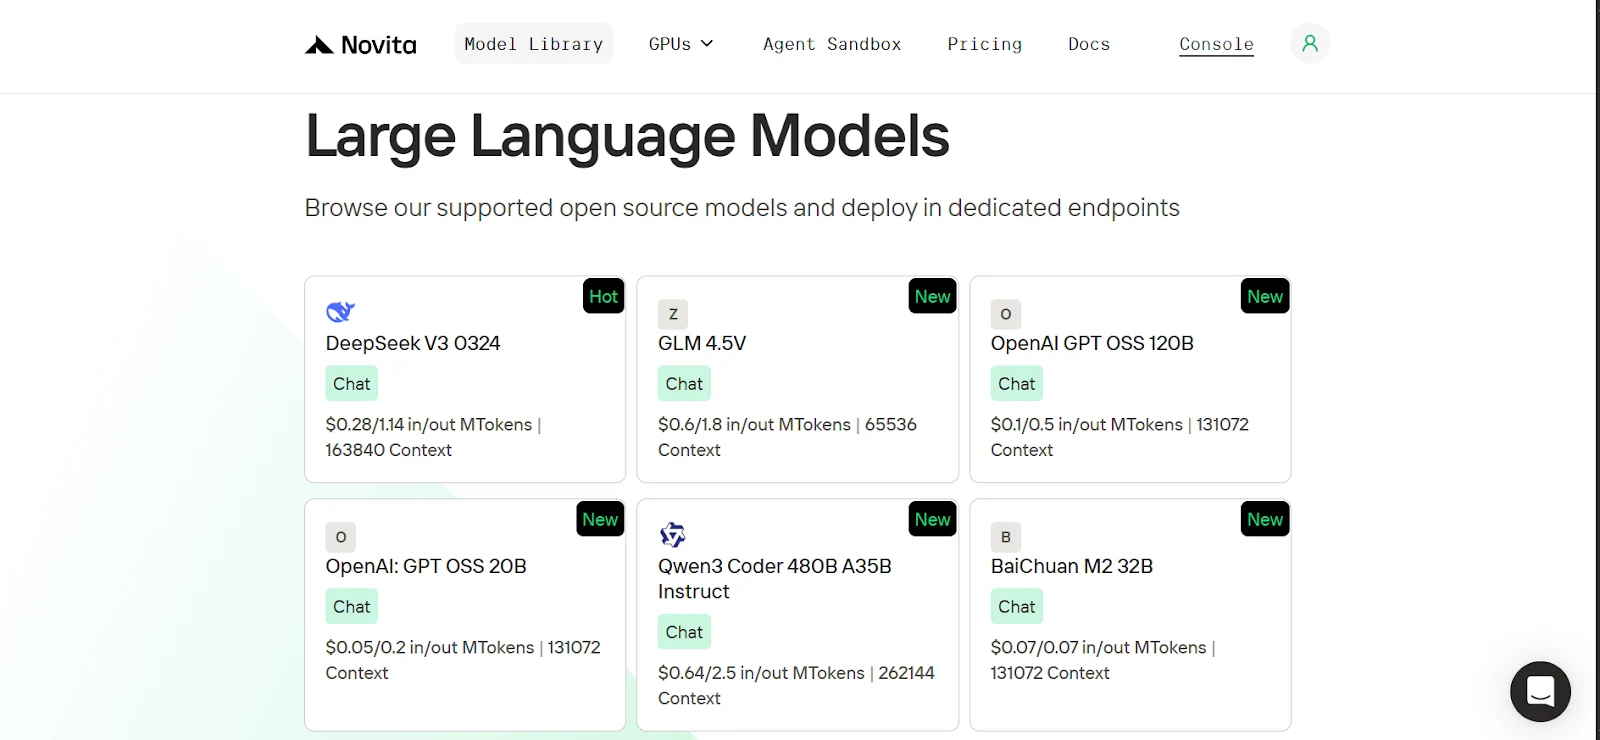
Novita 提供了來自 OpenAI、Google、DeepSeek、Qwen 等領先實驗室的豐富開源 AI 模型庫,涵蓋語言、視覺、音訊、影片和嵌入模型。我們的語言模型也完全相容 OpenAI SDK,因此從 OpenAI 切換到 Novita 只需要更新客戶端的基礎 URL 和 API 金鑰,再選擇對應的 Novita 模型即可。
| from openai import OpenAI client = OpenAI( base_url=“https://api.novita.ai/v3/openai”, api_key=“ ) |
搭建開發環境
開始之前,我們需要克隆 GitHub 儲存庫、搭建乾淨的 Python 環境、安裝所有必需的依賴項,並取得 Novita AI 金鑰。
克隆 GitHub 儲存庫,並使用 uv 安裝依賴項
1. 安裝 uv(一個輕量級 Python 套件管理器)
| pip install uv |
2. 克隆儲存庫(GitHub 儲存庫連結)並進入對應目錄
| git clone https://github.com/Studio1HQ/mcp\_remote\_execution.git cd mcp_remote_execution |
3. 建立並啟動 uv 虛擬環境
| # Creates a virtual environment uv venv # Activate the virtual environment source .venv/bin/activate # For Mac/Linux # or .venv\Scripts\activate # For Windows |
4. 安裝專案依賴項
| # Install dependencies uv sync |
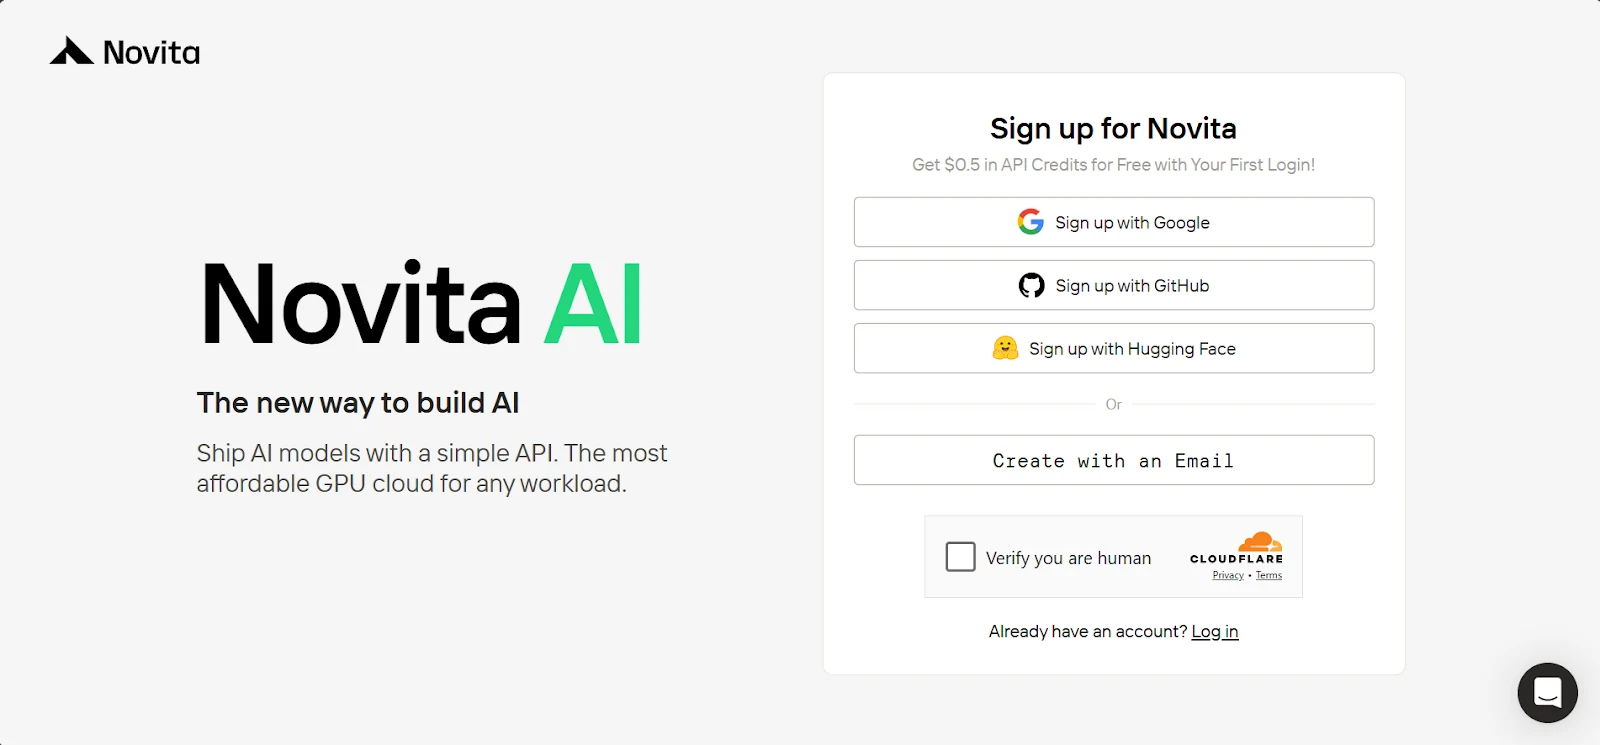
建立 Novita AI 帳號並取得 API 金鑰
1. 前往 novita.ai 註冊帳號
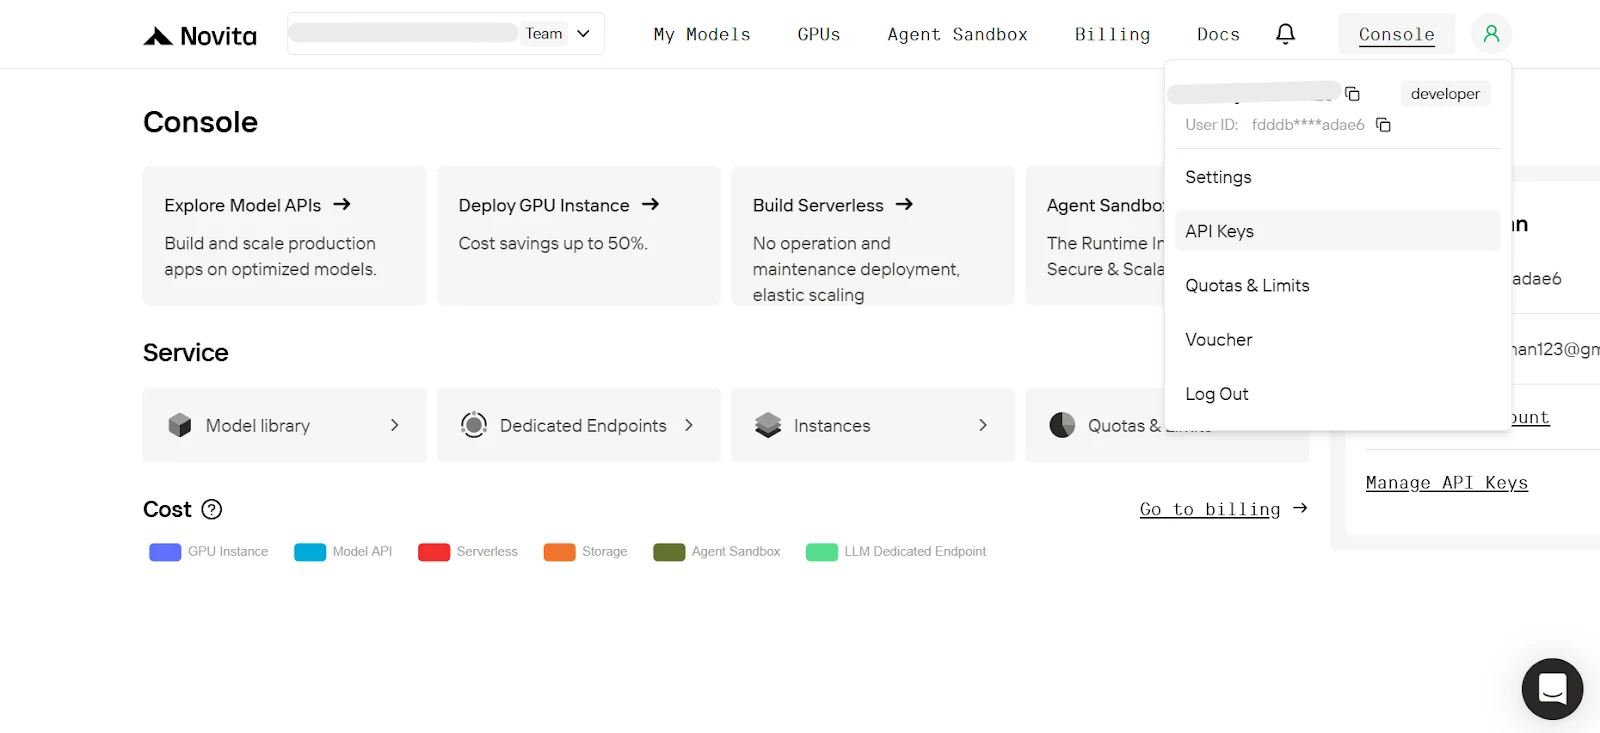
2. 在控制台懸停在使用者頭像圖示上,點擊彈出選單中的 API Keys
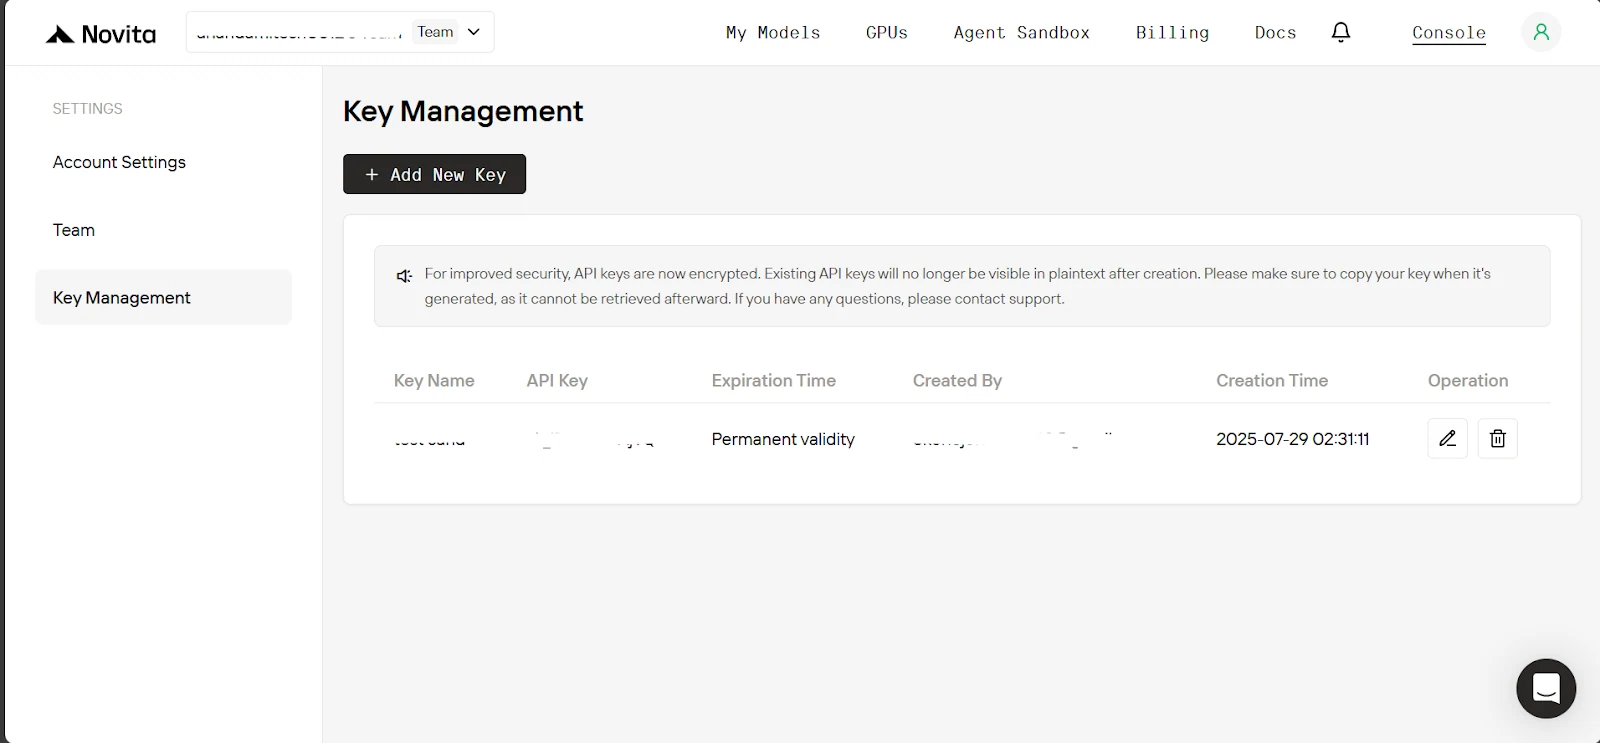
3. 在金鑰管理頁面點擊 Add New Key,在彈出視窗中輸入金鑰名稱,點擊 Confirm,最後複製生成的金鑰。
4. 現在進入專案目錄,建立一個 .env 檔案,並貼上下方內容。
| NOVITA_API_KEY=“ NOVITA_BASE_URL=“https://api.novita.ai/v3/openai” NOVITA_E2B_DOMAIN=“sandbox.novita.ai” NOVITA_E2B_TEMPLATE=“code-interpreter-v1” |
為 Novita AI 帳號充值
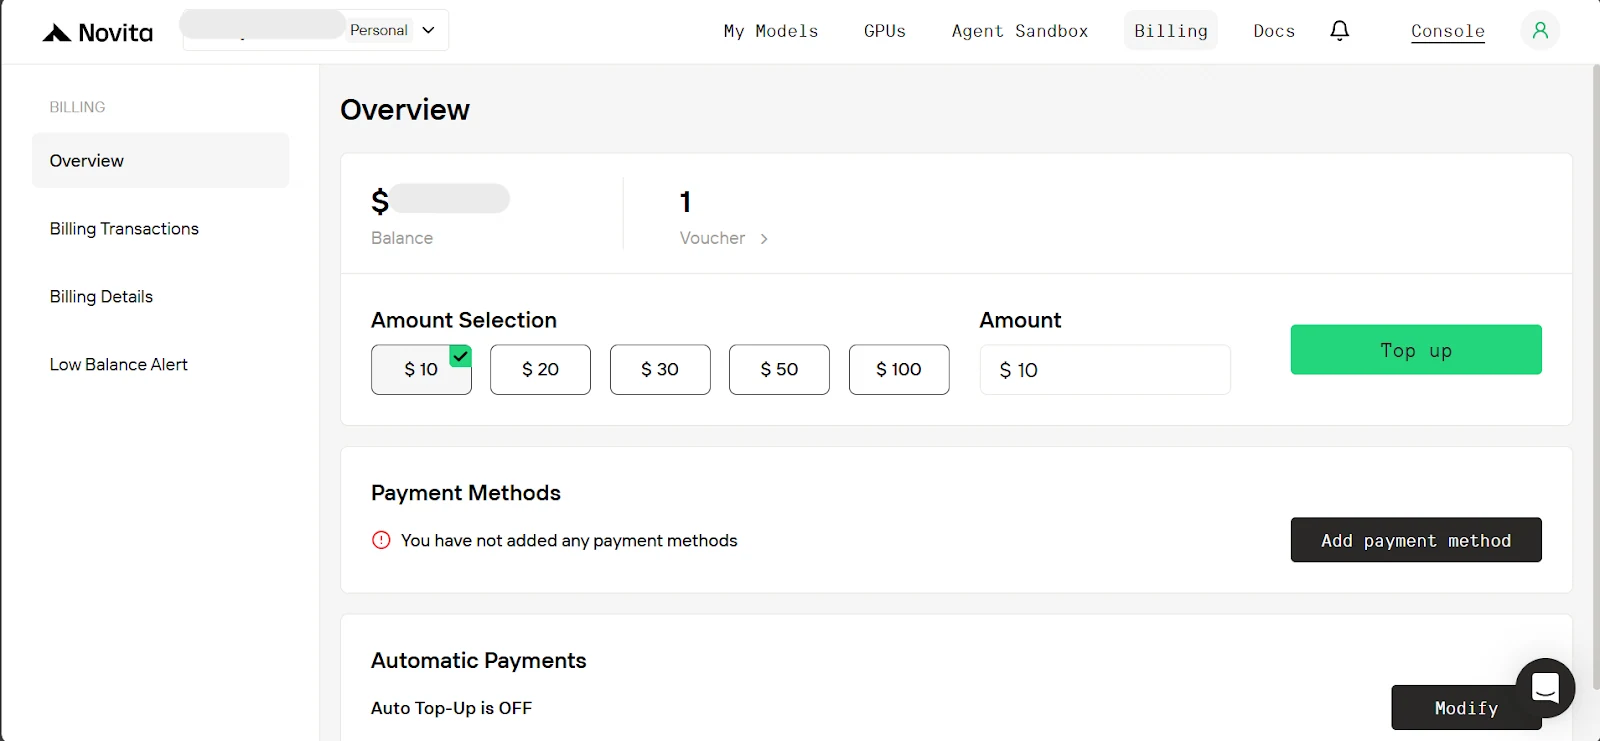
要使用 Novita 沙箱,你需要為帳號充值。在控制台頁面點擊 「Billing」,接著在計費頁面新增付款方式,並至少充值 10 美元額度。
構建 MCP 伺服器與 AI 代理整合
現在環境已經搭建完成,我們開始構建。這個流程分為兩部分:首先我們會講解如何建立 MCP 伺服器,接著構建充當 MCP 客戶端的 AI 代理應用程式。但在開始之前,我們先建立 MCP 伺服器將用到的 沙箱管理器。
沙箱管理器
它負責啟動和停止沙箱實例。在我們的設定中,伺服器同一時間只會限制使用單一沙箱實例。沙箱管理器同時也負責在沙箱中執行程式碼和執行 Shell 命令。
首先,在 sandbox_manager.py 中,我們定義了 SandboxManager 類別,它接受以下參數:
- sandbox_template:用於建立沙箱實例的模板。我們將使用「code-interpreter-v1」,這個模板預裝了常用的 Python 套件(例如 pandas、numpy)。
- sandbox_domain:用於連接 Novita AI 沙箱實例的網域端點。
- sandbox_timeout:沙箱在自動終止前可以保持活躍的時長(單位為秒)。
| from novita_sandbox.code_interpreter import Sandbox class SandboxManager: def __init__( self, sandbox_template: str, sandbox_domain: str, sandbox_timeout: int, ): self.sandbox_template = sandbox_template self.sandbox_domain = sandbox_domain self.sandbox_timeout = sandbox_timeout |
現在我們新增建立和停止沙箱的方法。
- 建立方法:接收 sandbox_api_key,使用它為使用者啟動新的沙箱實例,成功時返回包含沙箱 ID 的成功訊息,出錯時返回異常訊息。
- 停止方法:接收 sandbox_api_key 和 sandbox_id,連接到對應沙箱,如果沙箱存在則停止它。和之前一樣,根據執行結果返回成功訊息或異常訊息。
| … class SandboxManager: … # below existing code def create_sandbox_session(self, sandbox_api_key: str) -> str: “”“ This will create a new sandbox instance. Args: sandbox_api_key (str): The API key for the sandbox. Returns: str: Success message with the sandbox ID of the new sandbox or error message. ”“” try: # create the new sandbox sandbox = Sandbox.create( template=self.sandbox_template, api_key=sandbox_api_key, domain=self.sandbox_domain, timeout=self.sandbox_timeout, ) return f"Successfully created sandbox. Sandbox ID: {sandbox.sandbox_id}“ except Exception as e: return f"Failed to create new sandbox:{str(e)}” def stop_sandbox_session(self, sandbox_api_key: str, sandbox_id: str) -> str: “”“ This will kill a sandbox instance if it exists. Args: sandbox_api_key (str): The API key for the sandbox. sandbox_id (str): The ID of the sandbox. Returns: str: Success message with the sandbox ID of the killed sandbox or error message. ”“” try: # connect to sandbox sandbox = Sandbox.connect( api_key=sandbox_api_key, sandbox_id=sandbox_id, ) sandbox.kill() return f"Successfully killed Sandbox ID: {sandbox_id}“ except Exception as e: return f"Failed to kill Sandbox ID: {sandbox_id}\ {str(e)}” |
最後,我們新增在使用者沙箱中執行程式碼和 Shell 命令的方法,需要透過 API 金鑰和 ID 連接到沙箱後執行。所有沙箱輸出(包括異常和錯誤)都會以字典形式返回。
| … class SandboxManager: … # below existing code def run_python_code( self, python_code: str, sandbox_api_key: str, sandbox_id: str ) -> dict: “”“ Runs the python code on the sandbox, and if there any image outputs they are skipped. Args: python_code (str): The python code to run. sandbox_api_key (str): The API key for the sandbox. sandbox_id (str): The ID of the sandbox. Returns: dict: Containing stdout, logs, error, etc. ”“” try: # connect to sandbox sandbox = Sandbox.connect( api_key=sandbox_api_key, sandbox_id=sandbox_id, ) execution = sandbox.run_code(python_code, language=“python”) return { # we will skip image outputs. “outputs”: [result for result in execution.results if not result.png], “logs”: execution.logs, “error”: execution.error, } except Exception as e: return {“error”: str(e)} def run_on_command_line( self, command: str, sandbox_api_key: str, sandbox_id: str ) -> dict: “”“ Runs the command on the sandbox. Args: command (str): The command to run. sandbox_api_key (str): The API key for the sandbox. sandbox_id (str): The ID of the sandbox. Returns: dict: Containing the output of the command and the execution error if any. ”“” try: # connect to sandbox sandbox = Sandbox.connect( api_key=sandbox_api_key, sandbox_id=sandbox_id, ) result = sandbox.commands.run(command) return { “output”: { “stdout”: result.stdout, “stderr”: result.stderr, “exit_code”: result.exit_code, “error”: result.error, }, “execution error”: None, } except Exception as e: return {“output”: None, “execution error”: str(e)} |
建立 MCP 伺服器
現在沙箱管理器已經搭建完成,我們開始處理 mcp_server.py。首先,我們建立將用於運行伺服器的框架 FastMCP 的實例,同時建立沙箱管理器。我們還建立了一個 rich 控制台實例,用於在終端機中進行美觀的輸出。
注意: 傳遞給沙箱管理器的沙箱超時時間適用於此伺服器上啟動的所有沙箱,它是每個沙箱可以保持活躍(運行)的最長時長(單位為秒),除非提前停止。
| import asyncio import os from dotenv import load_dotenv from mcp.server.fastmcp import Context, FastMCP from rich.console import Console from rich.panel import Panel from rich.table import Table from starlette.requests import Request from sandbox_manager import SandboxManager # load .env variables load_dotenv() console = Console() # Initialize FastMCP server mcp = FastMCP(“MCP_Server”) # Initialize sandbox manager for the singleton sandbox instance. sandbox_manager = SandboxManager( sandbox_template=os.getenv(“NOVITA_E2B_TEMPLATE”), sandbox_domain=os.getenv(“NOVITA_E2B_DOMAIN”), sandbox_timeout=900, # 900 seconds (15 minutes), sandbox instance will be killed automatically after. ) |
現在,由於我們需要 API 金鑰來連接使用者的沙箱,我們會從使用者傳送到伺服器的請求中獲取它。正如我們稍後在 MCP 客戶端中看到的,這個金鑰會放在每個請求的授權標頭中傳送。這意味著我們需要在伺服器端實現從該標頭中提取 API 金鑰的方法。
FastMCP 提供了 Context 物件,它會在執行階段保存發起請求的使用者資訊。因此我們會建立一個輔助方法 get_user_api_key,它接收上下文物件,從標頭中提取 API 金鑰並返回,如果金鑰缺失則拋出異常。
| … # below existing code def get_user_api_key(ctx: Context) -> str: “”“ Returns the API key from the request header if it exists otherwise raise an exception. ”“” request: Request = ctx.request_context.request # Access request data auth_header = request.headers.get(“Authorization”) if auth_header: auth_header = auth_header.split(" ")[1] if not auth_header: raise Exception(“Missing API Key in Authorization Bearer header”) return auth_header |
現在我們要在伺服器上公開提示詞、工具和資源。為此,我們只需要在 Python 函式上新增 @mcp.{prompt, tool, resource}() 裝飾器即可。首先從我們的提示詞開始,它會返回代理使用沙箱的說明。
| … # below existing code (Note: Console display helper methods were skipped for brevity) @mcp.prompt() def instructions_for_sandbox_use() -> str: “”“ RETURNS MUST READ INSTRUCTIONS FOR SANDBOX USE. ”“” return “”“ When you want to use the sandbox function, you must first create a new sandbox session by calling the create_sandbox_session() function. Then you can use the run_python_code() or run_on_command_line() function to run on the sandbox. When you are done, you must kill the sandbox session by calling the stop_sandbox_session() function. Note: - The sandbox already comes pre-installed with the usual data analysis packages but if there’s a package you are not sure exists or your code had an import error due to a missing package, you can check if it’s installed and if not install it. ”“” |
對於工具,我們公開使用 sandbox_manager 實例的方法,用於在使用者的沙箱中建立、停止沙箱,以及執行程式碼或命令。
注意: 在下方工具方法接收的參數中,我們會加入 ctx: Context。這會告訴 FastMCP 自動將請求上下文插入到該參數中,這個過程稱為依賴注入。接著我們可以透過將這個上下文傳遞給輔助方法(get_user_api_key)來獲取 API 金鑰(如果存在的話)。
| … # below existing code @mcp.tool() def create_sandbox_session(ctx: Context) -> str: “”“ This will create a sandbox instance and return success message with the sandbox id or error message. ”“” try: return sandbox_manager.create_sandbox_session(get_user_api_key(ctx)) except Exception as e: return e @mcp.tool() def stop_sandbox_session(sandbox_id: str, ctx: Context) -> str: “”“ This will kill a sandbox instance if it exists. ”“” try: return sandbox_manager.stop_sandbox_session(get_user_api_key(ctx), sandbox_id) except Exception as e: return e @mcp.tool() def run_python_code(python_code: str, sandbox_id: str, ctx: Context) -> dict: “”“ Runs the python code on the sandbox, and if there any image outputs they are skipped. Args: python_code (str): The python code to run. sandbox_id (str): The ID of the sandbox. Note: The ctx (Context) is a dependency injection object that is automatically passed. Returns: dict: Containing stdout, logs, error, etc. ”“” console.print( Panel( python_code, title=“Agent Executing Python Code”, border_style=“blue”, ) ) try: result = sandbox_manager.run_python_code( python_code, get_user_api_key(ctx), sandbox_id ) # display the result. Note: only do this in test not in prod. display_sandbox_code_output(result) return result except Exception as e: return {“error”: str(e)} @mcp.tool() def run_on_command_line(command_line: str, sandbox_id: str, ctx: Context) -> dict: “”“ Runs the command on the sandbox. Args: command_line (str): The command to run. sandbox_id (str): The ID of the sandbox. Note: The ctx (Context) is a dependency injection object that is automatically passed. Returns: dict: Containing the output of the command and the execution error if any. ”“” console.print( Panel( command_line, title=“Agent Executing Command Line”, border_style=“blue”, ) ) try: result = sandbox_manager.run_on_command_line( command_line, get_user_api_key(ctx), sandbox_id ) # display the result. Note: only do this in test not in prod. display_sandbox_command_output(result) return result except Exception as e: return {“execution error”: str(e)} |
現在我們為後續的演示場景公開一個資源。這個資源會返回使用者股票投資組合的模擬資料。不同於提示詞和工具,資源需要指定一個可存取的 URL。
| … # below existing code @mcp.resource(“data://user_stock_portfolio”) def get_user_portfolio() -> dict: “”“ Returns the user’s portfolio holdings across major index ETFs and individual stocks. Returns: dict: Portfolio with ticker symbols, quantities, and average purchase prices ”“” portfolio = { “holdings”: [ # Major Index ETFs { “ticker”: “SPY”, “name”: “SPDR S&P 500 ETF”, “quantity”: 4, “avg_purchase_price”: 670.13, “asset_type”: “ETF”, }, … # skipped for brevity ] } return portfolio |
最後,我們新增啟動伺服器的程式碼。我們不會使用 stdio MCP 傳輸協議,因為 Rich 控制台會輸出到終端機,這是一個會造成阻斷的操作,會產生干擾。相反地,我們會使用 streamable-http MCP 傳輸協議(這也是你在生產環境中應該使用的協議,因為它最適合客戶端和伺服器之間透過 HTTP 進行遠端連接)。
| … # below existing code if __name__ == “__main__”: # run the server # Note: We use streamable-http as the transport protocol instead of stdio because we are printing to the console which would block stdio. # Also in production you should use SSE or streamable-http rather than stdio. asyncio.run(mcp.run(transport=“streamable-http”)) |
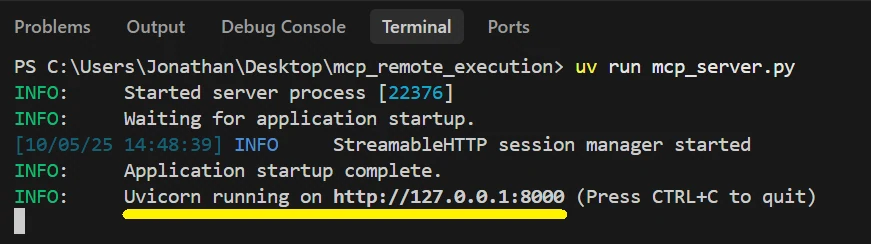
好了,現在啟動我們的 MCP 伺服器,獲取它運行的 URL,我們後續連接 AI 代理時需要用到。在終端機中執行以下命令。
| uv run mcp_server.py |
你應該會看到伺服器已經開始運行。記下它運行的 URL
將 AI 代理與 MCP 伺服器整合
現在我們開始處理 mcp_client.py 中的 AI 代理。mcp-use 函式庫讓這個流程變得非常簡單。首先,我們將除錯等級設定為 INFO,以便查看代理的執行狀態。在主方法中,我們為 MCP 客戶端建立一個配置字典,其中指定可用的 MCP 伺服器:使用一個名稱(我用了 「stock&sandbox」)和 MCP 伺服器運行的 URL(記住要加上 /mcp 尾碼),同時我們將使用者的 API 金鑰作為 「auth」 的值,mcp-use 會自動將它插入到每個請求的 Authorization bearer 標頭中。
由於 mcp-use 依賴於 langchain-openai,我們傳入 Novita 的基礎 URL、API 金鑰和大型語言模型名稱,這之所以可行是因為 Novita 與 OpenAI 相容。
此外,我們希望在代理的回應中加入它在伺服器上使用的沙箱 ID(如果有的話,我們稍後會解釋原因)。為此,我們定義一個 Pydantic 類別來表示回應格式。
| import asyncio import os from datetime import datetime from typing import Optional import mcp_use from dotenv import load_dotenv from langchain_openai import ChatOpenAI from mcp_use import MCPAgent, MCPClient from pydantic import BaseModel, Field from rich.console import Console from rich.panel import Panel from rich.prompt import Prompt # Load environment variables load_dotenv() console = Console() # Note: 1 for INFO level, 2 for full verbose DEBUG level and 0 for NO debug output. mcp_use.set_debug(1) class ResponseFormat(BaseModel): response: str id_of_used_sandbox: Optional[str] = Field( …, description=“The id of the sandbox used if any” ) async def main(model: str, base_url: str, api_key: str): # Create configuration dictionary config = { “mcpServers”: { “stock&sandbox”: { # If the url the mcp server is running at is different replace below, # also remember to add /mcp. “url”: “http://127.0.0.1:8000/mcp”, “auth”: api_key, } } } # Create MCPClient from configuration dictionary client = MCPClient(config) # Create LLM llm = ChatOpenAI(model=model, base_url=base_url, api_key=api_key) … |
接著我們建立 MCP 代理,傳入大型語言模型、MCP 客戶端、最大步驟數(限制代理在回應前可以執行的動作數量),並啟用記憶體功能,讓 mcp-use 處理我們的對話歷史。我們還提供了一個系統提示詞,包含當前日期和時間,以及使用沙箱的自訂說明(我加入這個是因為部分模型會忘記讀取伺服器公開的說明提示詞)。
最後,我們設定標準的對話循環:獲取使用者輸入,將其傳遞給 agent.run(),並列印回應。如果使用了沙箱,我們會建立一個工作階段,手動呼叫伺服器上的停止方法作為安全措施,防止模型忘記關閉沙箱。
| … async def main(model: str, base_url: str, api_key: str): … # below existing code # Create agent with the client agent = MCPAgent( llm=llm, client=client, max_steps=25, memory_enabled=True, # mcp-use will auto handle the conversation history. system_prompt=f"“” You are a helpful assistant and the current date is {datetime.now().strftime(‘%Y-%m-%d’)} MUST REMEMBER: - Before any tool call first call instructions_for_sandbox_use() so you can read them. - Ensure you call stop_sandbox_session() after using the sandbox before responding to the user. “”“, ) console.print( Panel( ”[bold green]MCP Session Started[/bold green]\ Type ‘quit()’ to exit.“, title=“MCP Session”, border_style=“green”, ) ) while True: user_input = Prompt.ask(”\ [bold yellow]>>> User Message[/bold yellow]“) if user_input.lower().strip() == “quit()”: break # Pass the query to the agent and await the response. response_obj = await agent.run(user_input, output_schema=ResponseFormat) console.print( f”\ [bold green]>>> Assistant Response: {response_obj.response} [/]" ) if response_obj.id_of_used_sandbox: # Will trigger closure of sandbox on MCP server if it sill active. session = await client.create_session(“stock&sandbox”) await session.call_tool( name=“stop_sandbox_session”, arguments={“sandbox_id”: response_obj.id_of_used_sandbox}, ) await session.disconnect() |
最後,我們新增啟動客戶端的程式碼:
| … # below existing code if __name__ == “__main__”: asyncio.run( main( model=“qwen/qwen3-coder-480b-a35b-instruct”, base_url=os.getenv(“NOVITA_BASE_URL”), api_key=os.getenv(“NOVITA_API_KEY”), ) ) |
測試運行我們的 MCP AI 代理:
你可以通过在終端機中執行以下命令來啟動 AI 代理應用程式
| uv run mcp_client.py |
以下是以下提示詞的演示運行影片連結:
- 使用者提示詞 1: 「我有 2000 美元,請從 yfinance 獲取過去 6 個月美國主要股指的表現,並運行機器學習模型預測如何配置這筆投資,以在未來 2 個月內實現潛在收益最大化。」(此處插入連結)
- 使用者提示詞 2: 「運行多次美國經濟通縮崩潰的模擬,選擇最可能發生的一種,並解釋它對我的股票投資組合的影響。」(此處插入連結)
MCP 生產環境伺服器最佳實踐
雖然本教程專注於使用 Novita 沙箱構建可運行的 MCP 伺服器,但部署到生產環境還需要考慮以下額外要點:
選擇正確的傳輸協議: 雖然 「stdio」 適用於本地開發,但生產環境的 MCP 伺服器應該使用 「streamable-http」 來支援遠端連接,就像我們上面做的那樣。
實現身份驗證: 就像我們上面做的那樣,確保為你的 MCP 伺服器端點配置身份驗證,保證每個客戶端只有權限存取他們需要的工具和資源。你可以在 FastMCP 身份驗證文檔 中了解更多驗證方法。
啟用日誌記錄: 使用日誌記錄器監控伺服器活動、除錯問題並追蹤使用模式。這對於維護和故障排除至關重要。
速率限制與配額: 透過實現速率限制和配額來保護你的伺服器免受濫用。當你公開資源密集型工具時,這一點尤其重要。
文件與版本管理: 維護清晰的 MCP 伺服器 API 文件和版本記錄,方便開發者和大型語言模型進行整合。
總結
太好了,你現在終於可以構建一個讓 AI 代理能透過自然語言指令遠端執行程式碼的 MCP 伺服器了,這就是 Software 3.0 的實際落地應用。
在本教程中,你學習了如何構建具有程式碼執行能力的 MCP 伺服器、管理沙箱生命週期,以及使用 mcp-use 建立能連接到你伺服器的 AI 代理。接下來,你可以嘗試為其新增資料庫存取、網頁搜尋功能,或將多個伺服器連結到同一個代理。前往 Novita,我們提供你構建 AI 代理所需的所有工具。
Novita AI 是一個 AI 雲端平台,為開發者提供簡單的 API 來部署 AI 模型,同時也提供實惠且可靠的 GPU 雲端服務,用於構建和擴展 AI 應用。