

想像一下,當你瀏覽說明文件網站或程式碼教學時,再也不會感到孤單。你不需要獨自摸索所有內容,而是有一位 AI 助理會跟著你跨頁面移動,它不會被綁定在單一網頁上,隨時都在你身邊準備提供協助:能安全執行你在網路上遇到的程式碼、給出解釋,並在你需要時立刻提供見解。
那麼要怎麼實現這樣的體驗呢?答案是構建一個瀏覽器擴充功能。這個擴充功能會內建一個可與使用者對話的 AI 代理,該代理能存取安全的沙盒環境,在其中安全執行程式碼與其他操作。要建立這個系統,我們會構建一個 Chrome 擴充功能、使用支援工具調用的 Novita 模型,並整合 Novita Sandbox 作為代理的安全執行環境。本文會帶你走過完整的建置流程。
完成本教學後,你將學會:
- 如何構建整合 AI 代理的 Chrome 擴充功能
- 如何運用 Novita 的代理型大型語言模型(Agentic LLMs)
- 如何設定 Novita Sandbox 作為瀏覽器代理的安全環境
- 如何讓擴充功能與代理進行即時通訊
沙盒:你唯一需要的工具
我們正在構建的 Chrome 擴充功能依賴 AI 代理來協助使用者。由於這個擴充功能是要作為程式碼助理使用,代理需要具備執行程式碼、建立檔案、檢查輸出,以及執行開發者可能進行的所有典型任務的能力。你可能以為要實現這些功能需要一長串工具,但實際上只需要一個:沙盒。
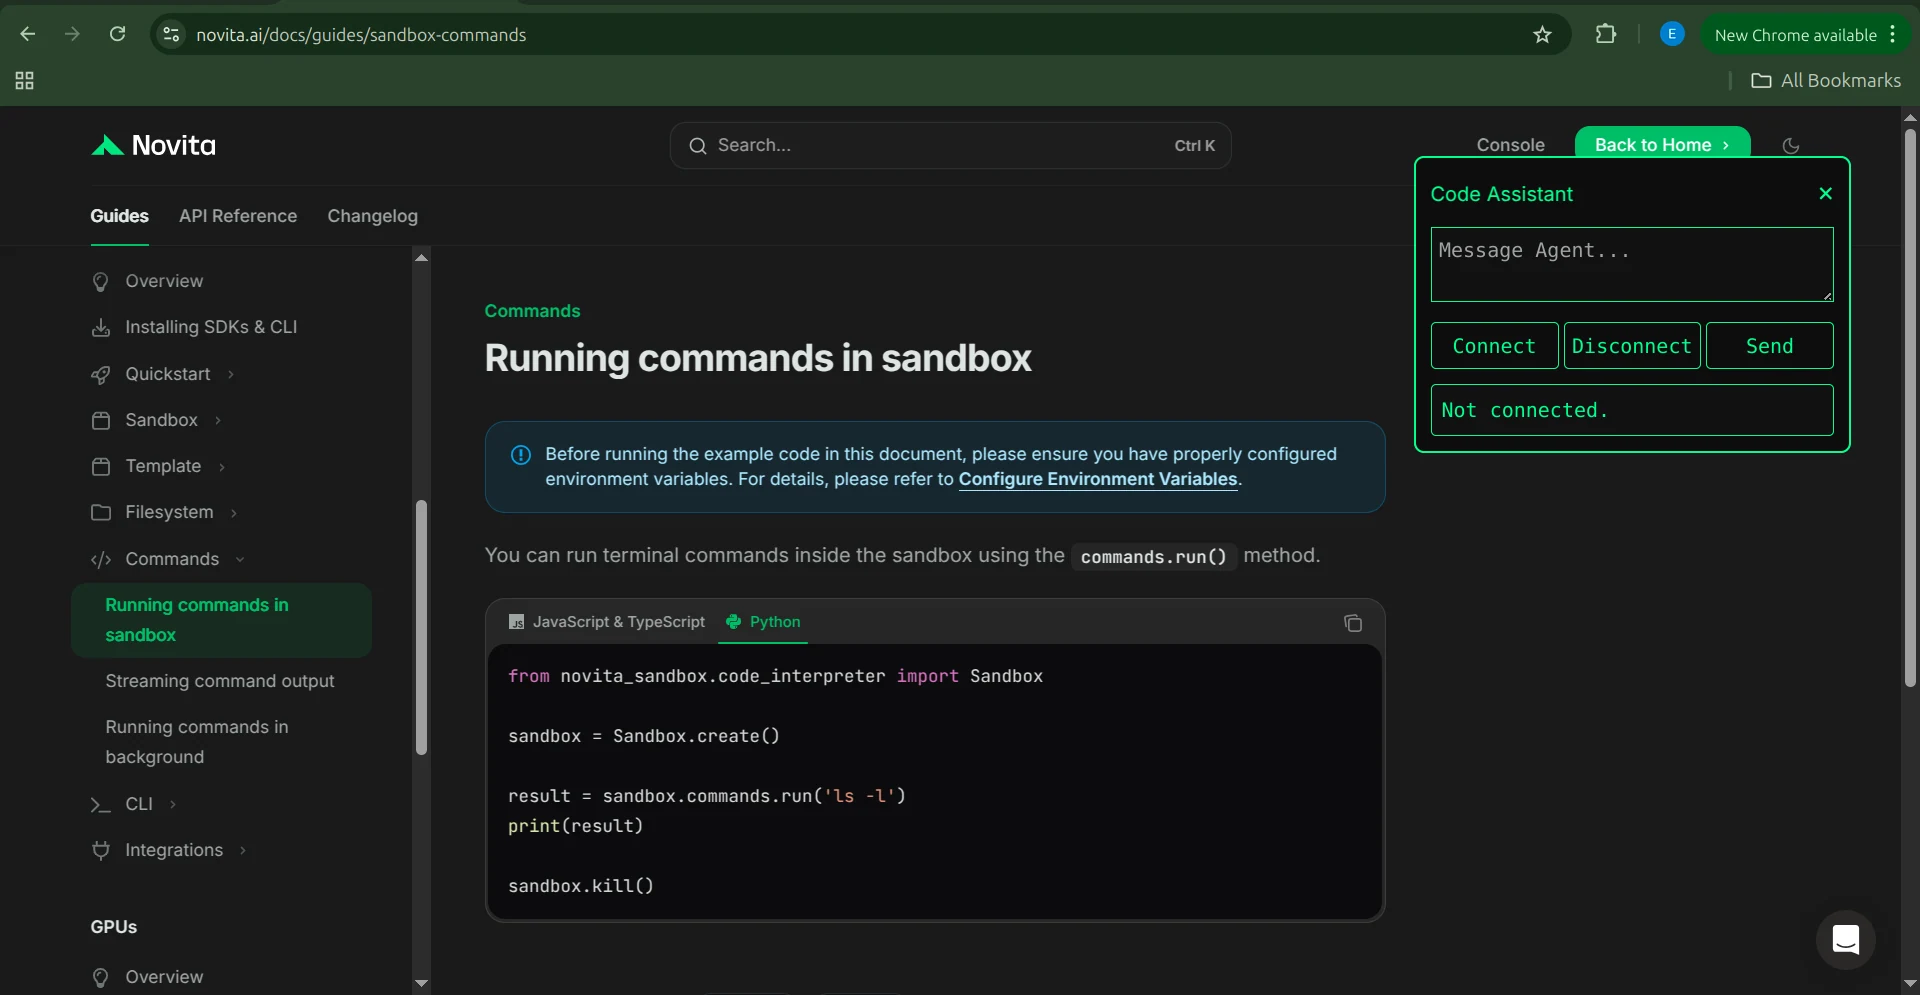
沙盒能讓代理存取 Linux 環境,在其中執行程式碼指令、建立與修改檔案,並執行任何你通常在終端機中進行的操作。在這個專案中,我們會使用 Novita Sandbox。
要進行設定,首先安裝 Novita Sandbox 套件:
pip install novita-sandbox
接下來,將 NOVITA_API_KEY 環境變數設定為你的 API 金鑰。完成後,你就可以像這樣建立與使用沙盒:
from novita_sandbox.code_interpreter import Sandbox

sandbox = Sandbox.create()

result = sandbox.commands.run('ls -l')
print(result)

sandbox.kill()
這段程式碼會建立一個沙盒、執行 ls -l 指令、印出輸出結果,最後關閉沙盒。這個簡單的工作流程是我們瀏覽器助理利用沙盒協助使用者的基礎。
現在我們就把這個原則套用到完整的擴充功能上。
瀏覽器助理代理的架構
這個專案的架構採用客戶端與伺服器模型。Chrome 擴充功能作為客戶端,專用的後端伺服器則托管 AI 代理與沙盒環境。擴充功能透過 WebSocket 連線與伺服器通訊,支援即時雙向訊息傳遞,讓使用者的請求與代理的回應能即時流轉,沒有明顯延遲。伺服器則會與 Novita 的 API(包含模型端點與沙盒服務)進行通訊。擴充功能與後端共同組成一個智慧型瀏覽器助理,能安全執行程式碼、快速處理資訊,並在使用者的瀏覽體驗中直接提供有用的解釋。
構建擴充功能
現在我們已經理解了整體架構,可以開始實作擴充功能本身了。我們會從插件伺服器著手。
擴充功能伺服器
擴充功能伺服器是一個簡單的 WebSocket 服務,僅有一個 /ws 端點。這個端點會接收使用者傳來的訊息,並即時回傳大型語言模型(LLM)的回應。當代理需要執行程式碼或執行操作時,它也會呼叫沙盒來處理工具調用。
相依套件
伺服器依賴三個核心程式庫:
- FastAPI:提供 WebSocket 實作的 HTTP 框架
- OpenAI:用於與 Novita 模型通訊的 SDK
- Novita Sandbox:安全執行程式碼的環境
使用以下指令安裝:
pip install novita-sandbox "fastapi[standard]" openai
將你的 Novita API 金鑰設定為環境變數:
export NOVITA_API_KEY = sk-xxxxxxxxxxxxxxxxxxxxxxxxxxxxxxxx
編寫伺服器程式碼
首先匯入所需的模組:
import os
import json
import uvicorn
from fastapi import FastAPI, WebSocket, WebSocketDisconnect
from fastapi.middleware.cors import CORSMiddleware
from novita_sandbox.code_interpreter import Sandbox
from openai import OpenAI
初始化 LLM 客戶端
接下來,建立一個指向 Novita API 的 OpenAI 客戶端。本範例中使用 llama-3.3-70b-instruct 模型,但任何支援工具調用的 Novita 模型都可以使用。
client = OpenAI(
   base_url="https://api.novita.ai/openai",
   api_key=os.environ["NOVITA_API_KEY"],
)

model = "meta-llama/llama-3.3-70b-instruct"
定義工具結構描述
代理會使用四個工具,每個工具都與沙盒互動:
- read_file:讀取檔案內容
- write_file:建立並寫入單一檔案
- write_files:建立並寫入多個檔案
- run_commands:在沙盒內執行 shell 指令
以下是完整的工具結構描述:
tools = [
   {
       "type": "function",
       "function": {
           "name": "read_file",
           "description": "Read contents of a file inside the sandbox",
           "parameters": {
               "type": "object",
               "properties": {"path": {"type": "string"}},
               "required": ["path"],
           },
       },
   },
   {
       "type": "function",
       "function": {
           "name": "write_file",
           "description": "Write a single file inside the sandbox",
           "parameters": {
               "type": "object",
               "properties": {
                   "path": {"type": "string"},
                   "data": {"type": "string"},
               },
               "required": ["path", "data"],
           },
       },
   },
   {
       "type": "function",
       "function": {
           "name": "write_files",
           "description": "Write multiple files inside the sandbox",
           "parameters": {
               "type": "object",
               "properties": {
                   "files": {
                       "type": "array",
                       "items": {
                           "type": "object",
                           "properties": {
                               "path": {"type": "string"},
                               "data": {"type": "string"},
                           },
                           "required": ["path", "data"],
                       },
                   }
               },
               "required": ["files"],
           },
       },
   },
   {
       "type": "function",
       "function": {
           "name": "run_commands",
           "description": "Run a shell command inside the sandbox working directory",
           "parameters": {
               "type": "object",
               "properties": {
                   "command": {"type": "string"},
               },
               "required": ["command"],
           },
       },
   },
]
設定 HTTP 伺服器
設定 FastAPI 並啟用 CORS,讓 Chrome 擴充功能能向伺服器發送請求。
app = FastAPI()

app.add_middleware(
   CORSMiddleware,
   allow_origins=["*"],
   allow_methods=["*"],
   allow_headers=["*"],
)
實作工具
定義一個處理函式來實作每個工具,並將代理的工具調用路由到沙盒:
def make_tool_handlers(sandbox):
   def read_file(path: str):
       print(f"[LOG] read_file called with path: {path}")
       try:
           content = sandbox.files.read(path)
           print(f"[LOG] read_file result: {content}")
           return content
       except Exception as e:
           return f"Error reading file: {e}"

   def write_file(path: str, data: str):
       print(f"[LOG] write_file called with path: {path}")
       try:
           sandbox.files.write(path, data)
           return f"File created successfully at {path}"
       except Exception as e:
           return f"Error writing file: {e}"

   def write_files(files: list):
       print(f"[LOG] write_files called with {len(files)} files")
       try:
           sandbox.files.write_files(files)
           return f"{len(files)} file(s) created successfully"
       except Exception as e:
           return f"Error writing multiple files: {e}"

   def run_commands(command: str):
       print(f"[LOG] run_commands called with command: {command}")
       try:
           result = sandbox.commands.run(command)
           return result.stdout
       except Exception as e:
           return f"Error running command: {e}"

   return {
       "read_file": read_file,
       "write_file": write_file,
       "write_files": write_files,
       "run_commands": run_commands,
   }
建立 WebSocket 端點
現在我們來實作 WebSocket 端點。當使用者連線到這個端點時,會建立一個新的沙盒實例。使用者與代理之間的所有通訊都會透過這個連線流轉。如果使用者要求代理使用工具,代理會透過處理函式選擇並執行對應的工具。當連線關閉時,沙盒會終止。
@app.websocket("/ws")
async def websocket_endpoint(ws: WebSocket):
   await ws.accept()
   print("\
[WS] Client connected")

   # Create sandbox per connection
   sandbox = Sandbox.create(timeout=1200)
   print("[WS] Sandbox created")

   tools_exec = make_tool_handlers(sandbox)
   messages = []  # persistent inside this websocket

   try:
       while True:
           data = await ws.receive_text()
           print(f"[WS] Received message: {data}")

           # Add user message
           messages.append({"role": "user", "content": data})

           # LLM call
           response = client.chat.completions.create(
               model=model,
               messages=messages,
               tools=tools,
           )

           assistant_msg = response.choices[0].message
           messages.append(assistant_msg)

           # If LLM wants to call tools
           if assistant_msg.tool_calls:
               print(f"[WS] Assistant requested {len(assistant_msg.tool_calls)} tool call(s).")

               results = []

               for tool_call in assistant_msg.tool_calls:
                   fn_name = tool_call.function.name
                   fn_args = json.loads(tool_call.function.arguments)

                   print(f"[WS] Tool call: {fn_name} args={fn_args}")

                   if fn_name in tools_exec:
                       result = tools_exec[fn_name](**fn_args)
                   else:
                       result = f"Error: Unknown tool {fn_name}"

                   results.append(result)

                   messages.append({
                       "tool_call_id": tool_call.id,
                       "role": "tool",
                       "content": str(result),
                   })

               # Follow-up model call
               follow_up = client.chat.completions.create(
                   model=model,
                   messages=messages,
               )
               final_answer = follow_up.choices[0].message
               messages.append(final_answer)

               await ws.send_json({
                   "reply": final_answer.content,
                   "tool_output": results,
               })

           else:
               # Simple model text output
               await ws.send_json({"reply": assistant_msg.content})

   except WebSocketDisconnect:
       print("[WS] Client disconnected")

   finally:
       sandbox.kill()
       print("[WS] Sandbox terminated")
執行伺服器
最後,使用 Uvicorn 啟動服務:
if __name__ == "__main__":
   uvicorn.run(app, host="0.0.0.0", port=8000)
至此伺服器元件就完成了。
擴充功能
擴充功能是使用者互動的介面,由一組協同運作的小檔案組成,可在任何網頁上執行。啟動後,使用者可以直接在正在瀏覽的頁面上,與擴充功能伺服器進行即時通訊。這個擴充功能包含以下檔案:
- manifest.json:定義擴充功能的設定與權限
- background.js:包含服務工作者邏輯,並處理右鍵選單操作
- content.js:管理頁面內互動並顯示助理對話框
- styles.css:提供頁面助理視窗的樣式
每個檔案都有獨特的職責,共同組成一個完整可用的擴充功能。
擴充功能運作方式
在實作這些檔案之前,我們先快速看一下從使用者角度看擴充功能如何運作:
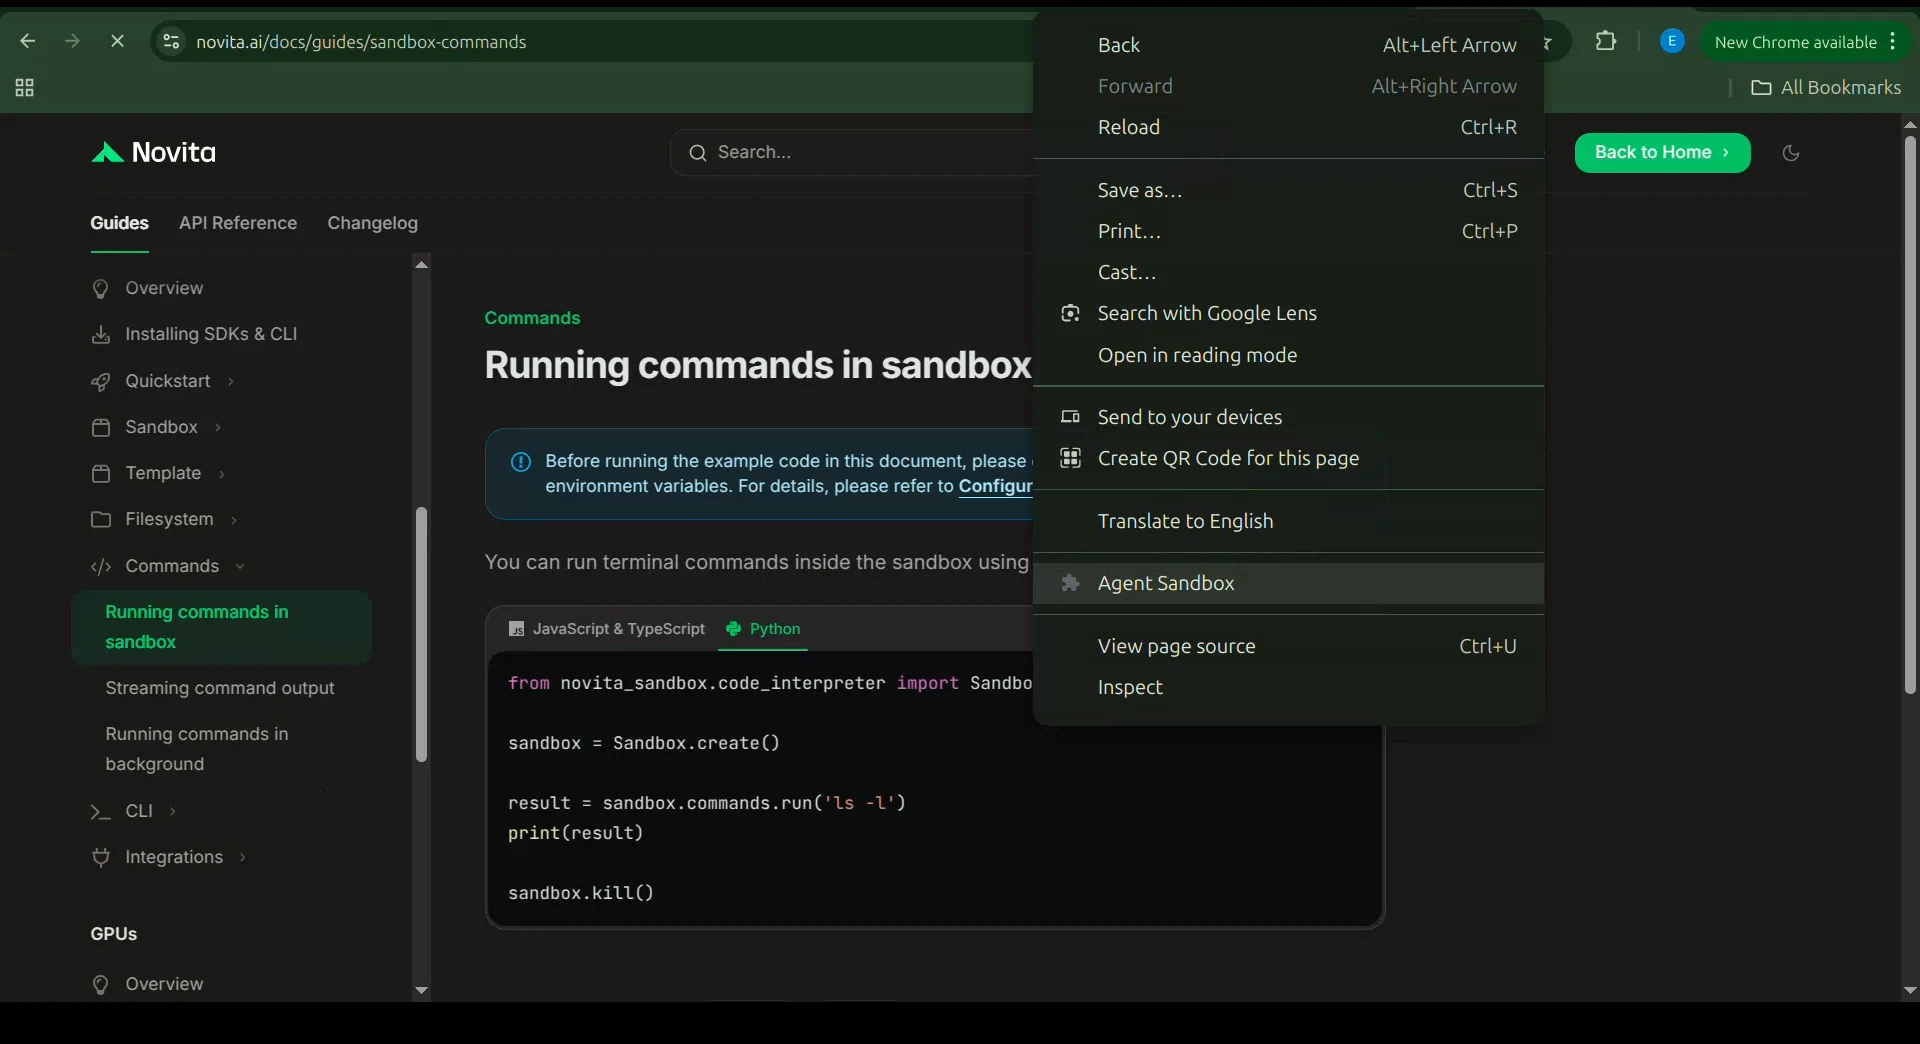
- 使用者在任何網頁上按右鍵,就會出現右鍵選單。
- 從選單中選擇 “Agent Sandbox”。
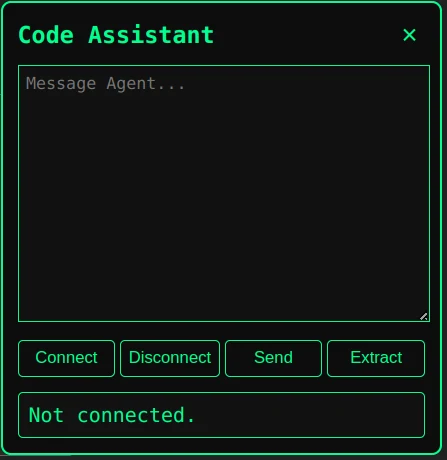
- 擴充功能會在頁面上開啟助理對話框。
- 使用者點擊 Connect 按鈕,與擴充功能伺服器建立連線。
- 連線建立後,使用者可以直接在訊息框中輸入內容。
- 輸入訊息後,只要點擊 Send 按鈕就能將訊息傳送到伺服器。
- 如果使用者想提供頁面上下文給代理,可以點擊 Extract 按鈕擷取網頁上所有可見內容。
- 也可以手動新增額外上下文,再重新點擊 Send 按鈕傳送。
現在我們已經理解了運作流程,開始實作擴充功能的檔案吧。
manifest.json
我們建立的第一個檔案是 manifest.json,它用於設定擴充功能的權限、背景邏輯與內容腳本。
{
 "manifest_version": 3,
 "name": "Agent Sandbox",
 "version": "1.0",
 "description": "Chat with your Novita AI sandbox agent over WebSocket.",
 "permissions": [
   "contextMenus",
   "activeTab",
   "scripting"
 ],
 "host_permissions": [
   "ws://localhost:8000/*",
   "http://localhost:8000/*",
   "https://localhost:8000/*"
 ],
 "background": {
   "service_worker": "background.js"
 },
 "action": {
   "default_icon": "icon.png"
 },
 "content_scripts": [
   {
     "matches": ["<all_urls>"],
     "js": ["content.js"],
     "css": ["styles.css"]
   }
 ]
}
這個檔案告訴 Chrome 要載入哪些腳本、需要哪些權限,以及哪個檔案作為服務工作者。
background.js
背景腳本是幕後運作的服務工作者,負責將我們的擴充功能新增到 Chrome 右鍵選單,並監聽使用者互動。當使用者選擇我們的選單選項時,背景腳本會傳送訊息給內容腳本,後者會啟動擴充功能的對話框。
chrome.runtime.onInstalled.addListener(() => {
 chrome.contextMenus.create({
   id: "ask-assistant",
   title: "Agent Sandbox",
   contexts: ["all"]
 });
});

chrome.contextMenus.onClicked.addListener((info, tab) => {
 chrome.scripting.executeScript(
   {
     target: { tabId: tab.id },
     files: ["content.js"]
   },
   () => {
     chrome.tabs.sendMessage(tab.id, {
       type: "OPEN_PANEL"
     });
   }
 );
});
content.js
內容腳本負責在網頁內顯示擴充功能的對話框。當它收到背景腳本傳來的訊息時,就會開啟對話框。這個腳本是純 JavaScript,透過標準 DOM 操作管理介面,並使用 WebSocket API 與擴充功能伺服器通訊。
let socket = null;

chrome.runtime.onMessage.addListener((msg) => {
 if (msg.type === "OPEN_PANEL") {
   openPanel();
 }
});

// -------------------------------------------------
// WEBPAGE TEXT EXTRACTOR
// -------------------------------------------------
function extractWebpageContent() {
 const cloned = document.cloneNode(true);
 cloned.querySelectorAll("script, style, iframe, noscript").forEach(e => e.remove());

 let main =
   cloned.querySelector("article") ||
   cloned.querySelector("main") ||
   cloned.querySelector("#content") ||
   cloned.body;

 const text = Array.from(main.querySelectorAll("h1, h2, h3, p"))
   .map(el => el.innerText.trim())
   .filter(Boolean)
   .join("\
\
");

 return text;
}

// -------------------------------------------------
// PANEL UI
// -------------------------------------------------
function openPanel() {
 const old = document.getElementById("assistant-box");
 if (old) old.remove();

 const box = document.createElement("div");
 box.id = "assistant-box";

 box.innerHTML = `
   <div id="assistant-container">
     <div id="assistant-header">
       <h3>Code Assistant</h3>
       <button id="assistant-close">×</button>
     </div>

     <textarea id="assistant-input" placeholder="Message Agent..."></textarea>

     <div class="btn-row">
       <button id="connect-btn">Connect</button>
       <button id="disconnect-btn">Disconnect</button>
       <button id="send-btn">Send</button>
       <button id="extract-btn">Extract</button>
     </div>

     <div id="assistant-result">Not connected.</div>
   </div>
 `;

 document.body.appendChild(box);

 document.getElementById("assistant-close").onclick = () => box.remove();

 const resultBox = document.getElementById("assistant-result");
 const inputBox = document.getElementById("assistant-input");

 // -------------------------------------------------
 // TEXT SELECTION LISTENER
 // -------------------------------------------------
 document.addEventListener("mouseup", () => {
   const selection = window.getSelection().toString().trim();
   if (!selection) return;

   // Append selected text to message box
   inputBox.value += (inputBox.value ? "\
\
" : "") + selection;

   // Scroll text area to bottom
   inputBox.scrollTop = inputBox.scrollHeight;
 });

 // -------------------------------------------------
 // CONNECT
 // -------------------------------------------------
 document.getElementById("connect-btn").onclick = () => {
   if (socket && socket.readyState === WebSocket.OPEN) {
     resultBox.innerText = "Already connected.";
     return;
   }

   socket = new WebSocket("ws://localhost:8000/ws");

   socket.onopen = () => {
     resultBox.innerText = "Connected to WebSocket.";
   };

   socket.onmessage = (event) => {
     const data = JSON.parse(event.data);
     resultBox.innerText += "\
\
Assistant:\
" + data.reply;
     resultBox.scrollTop = resultBox.scrollHeight;
   };

   socket.onerror = () => {
     resultBox.innerText = "WebSocket error.";
   };

   socket.onclose = () => {
     resultBox.innerText = "Disconnected.";
   };
 };

 // -------------------------------------------------
 // DISCONNECT
 // -------------------------------------------------
 document.getElementById("disconnect-btn").onclick = () => {
   if (socket) socket.close();
 };

 // -------------------------------------------------
 // SEND MESSAGE
 // -------------------------------------------------
 document.getElementById("send-btn").onclick = () => {
   const context = inputBox.value;

   if (!socket || socket.readyState !== WebSocket.OPEN) {
     resultBox.innerText = "Not connected.";
     return;
   }

   socket.send(JSON.stringify({ message: context }));

   inputBox.value = "";

   resultBox.innerText += "\
\
You:\
" + context;
 };

 // -------------------------------------------------
 // EXTRACT PAGE → ADD TO MESSAGE BOX
 // -------------------------------------------------
 document.getElementById("extract-btn").onclick = () => {
   const extracted = extractWebpageContent();

   if (!extracted || extracted.length < 10) {
     resultBox.innerText = "Could not extract useful content.";
     return;
   }

   // Add extracted text to input box (not sent automatically)
   inputBox.value += (inputBox.value ? "\
\
" : "") + extracted;

   // Scroll text area
   inputBox.scrollTop = inputBox.scrollHeight;

   resultBox.innerText = "📄 Extracted content added to message box.";
 };
}
styles.css
接著我們使用 styles.css 檔案來設定介面樣式,控制擴充功能在頁面上的呈現方式。
#assistant-box {

 position: fixed;

 top: 10%;

 right: 10%;

 width: 350px;

 background: #000;

 border: 1px solid #00ff7f;

 border-radius: 8px;

 box-shadow: 0 0 10px rgba(0,255,127,0.5);

 z-index: 999999;

 font-family: monospace;

 color: #00ff7f;

}

#assistant-container {

 padding: 12px;

}

#assistant-header {

 display: flex;

 justify-content: space-between;

 align-items: center;

}

#assistant-close {

 background: transparent;

 border: none;

 font-size: 20px;

 cursor: pointer;

 padding: 0 5px;

 font-weight: bold;

 color: #00ff7f;

}

#assistant-container textarea {

 width: 100%;

 height: 60px;

 margin-top: 8px;

 background: #0d0d0d;

 color: #00ff7f;

 border: 1px solid #00ff7f;

 border-radius: 4px;

 padding: 6px;

 resize: vertical;

 outline: none;

}

#send-btn {

 width: 100%;

 margin-top: 10px;

 background: #00ff7f;

 border: none;

 padding: 10px;

 color: #000;

 font-weight: bold;

 cursor: pointer;

 border-radius: 4px;

 transition: 0.2s;

}

#send-btn:hover {

 background: #00e66a;

}

#assistant-box pre {

 background: #0a0a0a;

 padding: 8px;

 border-radius: 4px;

 max-height: 120px;

 overflow: auto;

 white-space: pre-wrap;

 word-break: break-word;

 margin-top: 5px;

}

#assistant-result {

 margin-top: 12px;

 background: #0d0d0d;

 padding: 8px;

 border-radius: 5px;

 white-space: pre-wrap;

 max-height: 150px;

 overflow: auto;

}
如何設定 Chrome 擴充功能
現在所有需要的檔案都已經準備好了,下一步是將擴充功能載入到 Chrome 中。請依照以下步驟操作:
- 將擴充功能伺服器的程式碼儲存為 Python 檔案。
- 安裝所有相依套件,並為伺服器設定必要的環境變數。
- 在你的機器上建立一個名為 code-assistant-extension 的新資料夾,用於存放擴充功能客戶端檔案。
- 將以下檔案加入資料夾中:
- manifest.json
- background.js
- content.js
- styles.css
- 開啟 Chrome 並前往:
chrome://extensions/ - 在右上角啟用【開發人員模式】。
- 點擊【載入未封裝項目】。
- 選擇包含擴充功能檔案的資料夾。
- 擴充功能會出現在工具列中。
- 在網頁上選取任何文字並按右鍵,就能在右鍵選單中看到 Agent Sandbox 選項。
你的擴充功能現在已經可以使用了。
專案倉庫 - AI 程式碼助理瀏覽器擴充功能
結論
本文中我們構建了一個連接 Novita Sandbox 驅動後端的 Chrome 擴充功能,讓 AI 代理能安全執行程式碼,並在使用者瀏覽時提供協助。這個模式不僅限於程式碼輔助,還能驅動互動式學習工具、除錯助理、說明文件增強器等各種應用。
這個架構與瀏覽器無關,意味著只需少量修改,就能將相同的方法套用到任何現代瀏覽器上。你可以在此基礎上擴充助理的功能、優化使用者介面,或新增沙盒工具。這個基礎為打造強大、智慧的瀏覽器陪伴工具打開了大門。
Novita AI 是領先的 AI 雲端平台,為開發者提供易於使用的 API 與實惠、可靠的 GPU 基礎設施,用於構建與擴展 AI 應用程式。