How to Set Up OpenAI Reverse Proxy
Introduction
Setting up an OpenAI reverse proxy with NGINX is a crucial in integrating OpenAI language models into applications. The reverse proxy acts as an intermediary between the application and the OpenAI API, providing improved performance, scalability, and security.
By configuring NGINX as a reverse proxy, developers can cache OpenAI API responses, reducing latency and improving overall performance for end-users. Additionally, the reverse proxy adds an extra layer of security by shielding sensitive API keys and protecting the backend infrastructure from direct external access.
In this article, we will explore the concept of Open AI Reverse Proxy. With the growing popularity of AI tools and chatbots, the use of Open AI reverse proxies has become more common. However, there is a lot of confusion about what it is, how it works, and how to access it. We aim to provide a comprehensive understanding of Open AI reverse proxies, their benefits, and the various ways to utilize them. So, let’s dive in and discover the world of Open AI reverse proxies.
Understanding Reverse Proxy
Before diving into the intricacies of Open AI reverse proxy, it’s important to understand the concept of a reverse proxy. A reverse proxy is a server that acts as an intermediary between a client device and a web server. It forwards client requests to the web server and returns the server’s response back to the client. In simple terms, it functions similarly to a VPN, changing the IP address and routing requests through a different server before they reach the web server. This proxy-like behavior is crucial in the Open AI reverse proxy architecture.
What is Open AI Reverse Proxy
An Open AI reverse proxy is a reverse proxy server designed specifically to facilitate the use of Open AI. It enables individuals who lack direct access to Open AI, whether due to financial constraints or other reasons, to leverage Open AI’s capabilities through alternative means. Acting as a proxy for Open AI, it allows users to access the platform and its resources indirectly. This approach is becoming increasingly popular, with many users actively looking for ways to utilize it.
How Open AI Reverse Proxy Works
The functioning of an Open AI reverse proxy involves establishing a connection between the user and the Open AI platform. Users can access Open AI services by routing their requests through the reverse proxy server. The reverse proxy manages communication between the user and Open AI, acting as an intermediary. It provides authentication and authorization mechanisms to ensure secure access, allowing users to utilize Open AI services seamlessly. This architecture ensures that users can benefit from Open AI even without having a direct account.
Benefits of Open AI Reverse Proxy
Open AI reverse proxy offers several benefits in terms of accessibility and affordability. Let’s explore some key advantages:
1. Cost-effective Alternative: For individuals who cannot afford an Open AI subscription, the reverse proxy provides a cost-effective way to leverage Open AI capabilities.
2. Accessibility: The reverse proxy opens access to Open AI services for those without their own accounts, thereby expanding usability.
3. Platform Integration: The reverse proxy can be seamlessly integrated into various platforms and applications, allowing developers to incorporate Open AI functionalities into their own products.
4. Flexibility: Users can choose between setting up their own reverse proxy server or utilizing existing Open AI communities or GitHub repositories for reverse proxy access.
Preparations for Open AI Reverse Proxy
To harness the power of an Open AI reverse proxy, users have two primary options for accessing it. Let’s explore these options in detail
System and Software Requirements
To set up the OpenAI reverse proxy with NGINX, you will need a Linux machine running Ubuntu 22.04. This operating system provides a stable and secure environment for hosting the reverse proxy.
Ensure that your server has access to the internet and an external IP address. This IP address will be used to configure a subdomain and secure the communication with SSL.
You will also need to install NGINX, a popular web server and reverse proxy server. NGINX is known for its high performance and scalability, making it an excellent choice for handling reverse proxy requests.
Choosing the Right Proxy Server
When setting up an OpenAI reverse proxy, choosing the right proxy server is crucial for optimal performance and security. NGINX is a popular choice due to its high performance and extensive features.
NGINX provides robust authentication mechanisms, allowing you to secure the reverse proxy with appropriate access control. You can configure authentication to ensure that only authorized users or applications can access the OpenAI API through the reverse proxy.
Additionally, NGINX offers flexible configuration options, allowing you to fine-tune various parameters to optimize the reverse proxy’s performance and ensure smooth integration with the OpenAI API.
Take into consideration your specific requirements and the expected workload when choosing the right proxy server for your OpenAI reverse proxy setup.
Installing and Configuring Your Proxy Server
Once you have prepared your system and chosen the right proxy server, you can proceed with the installation and configuration of the reverse proxy.
First, install NGINX using the package manager of your Linux distribution. On Ubuntu, you can use the following command:
sudo apt install nginx
After the installation is complete, verify the NGINX installation by checking the status of the NGINX service:
sudo service nginx status
Next, remove the default NGINX configuration file to make way for the new configuration specific to the reverse proxy:
sudo rm -rf /etc/nginx/sites-available/default
sudo rm -rf /etc/nginx/sites-enabled/default
Step-by-Step Installation Guide
To set up the OpenAI reverse proxy with NGINX, follow these step-by-step instructions:
- Create a new configuration file for the reverse proxy in the
/etc/nginx/sites-available/directory:
sudo nano /etc/nginx/sites-available/reverse-proxy.conf
- Replace the contents of the file with the following configuration, making sure to replace
YOUR_DOMAIN_NAMEwith your domain name andOPENAI_API_KEYwith your OpenAI API key:
proxy_ssl_server_name on;
server {
listen 80;
server_name YOUR_DOMAIN_NAME;
proxy_set_header Host api.openai.com;
proxy_http_version 1.1;
proxy_set_header Host $host;
location ~* ^/v1/((engines/.+)?(? :chat {
proxy_pass https://api.openai.com;
proxy_set_header Authorization "Bearer OPENAI_API_KEY";
proxy_set_header Content-Type "application/json";
proxy_set_header Connection '';
client_body_buffer_size 4m;
}
Basic Configuration Settings
Configuring the reverse proxy with NGINX involves specifying basic settings to ensure proper communication with the OpenAI API.
First, set the proxy_ssl_server_name parameter to on to enable SSL for communication between the reverse proxy, application, and OpenAI API.
Next, define a server block listening on port 80 and specify the domain name of your application for the server_name parameter.
Inside the location block, configure the reverse proxy to forward requests to the OpenAI API by setting the proxy_pass parameter to https://api.openai.com. Include the necessary headers, such as the authorization header containing your OpenAI API key, content-type, and connection headers.
Customizing Your OpenAI Reverse Proxy
After successfully installing and configuring the OpenAI reverse proxy with NGINX, you can further customize the setup to optimize performance and enhance security.
Advanced configuration options allow you to fine-tune parameters such as caching, performance optimization, and security enhancements.
By implementing these customization options, you can ensure optimal performance, reduce latency, and provide a secure environment for integrating OpenAI language models into your applications.
Advanced Configuration for Performance
To achieve optimal performance with your OpenAI reverse proxy, you can further configure NGINX to optimize performance and reduce latency.
One way to enhance performance is by implementing caching. NGINX offers caching mechanisms that store API responses, reducing the need to fetch the same data repeatedly. This can significantly improve response times and decrease the load on the OpenAI API.
Additionally, you can fine-tune various performance-related parameters, such as buffer sizes and connection timeouts, to optimize the reverse proxy’s performance.
Consider your specific requirements and workload when configuring these advanced settings to achieve the best possible performance with your OpenAI reverse proxy.
Security Enhancements
Security is of utmost importance when setting up an OpenAI reverse proxy. NGINX provides several security enhancements to protect your application and OpenAI API integration.
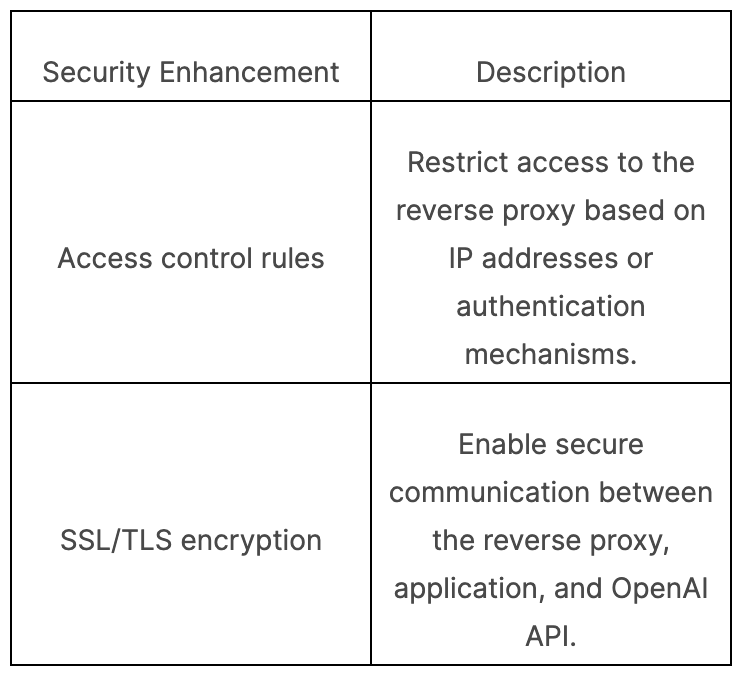
One essential security measure is to ensure that sensitive information, such as API keys, is protected. NGINX allows you to define access control rules and restrict access to the reverse proxy based on IP addresses or authentication mechanisms.
Another security enhancement is enabling encryption for communication between the reverse proxy, application, and OpenAI API. This can be achieved by installing and configuring SSL certificates, such as Let’s Encrypt free SSL.
Below is a table highlighting some of the security enhancements you can implement with NGINX:
Integrating OpenAI Reverse Proxy with Your Applications
After successfully setting up the OpenAI reverse proxy with NGINX, it’s time to integrate it into your applications and leverage the power of the OpenAI API.
To integrate the reverse proxy, you need to configure your applications to send requests to the reverse proxy instead of directly accessing the OpenAI API. Update the API endpoints in your application code to point to the reverse proxy URL.
Troubleshooting Common Integration Issues
Integration with the OpenAI API may sometimes encounter common issues that need troubleshooting. Here are some of the common integration issues and the steps to resolve them:
- Authentication Issues: Ensure that you have the correct API key and that it is properly configured in your integration code. If you are experiencing authentication errors, double-check the key and consider regenerating a new key.
- Rate Limiting: The OpenAI API has rate limits to prevent abuse. If you encounter rate-limiting errors, consider optimizing your code to reduce the number of API calls or upgrade to a higher rate limit plan.
- Endpoint Errors: If you receive errors related to specific endpoints, review the API documentation and check that you are using the correct endpoint and parameters for your desired functionality.
- Server Issues: If you are experiencing server-related issues, ensure that your server is properly configured with the necessary dependencies and that all services, such as NGINX, are running correctly.
If you encounter any issues during integration, OpenAI provides support through their developer forum and documentation. Check the OpenAI website for additional resources and troubleshooting guides.
Real-World Use Cases
The OpenAI reverse proxy has various real-world use cases, showcasing the versatility and power of the OpenAI API. Here are two examples:
Enhancing API Security
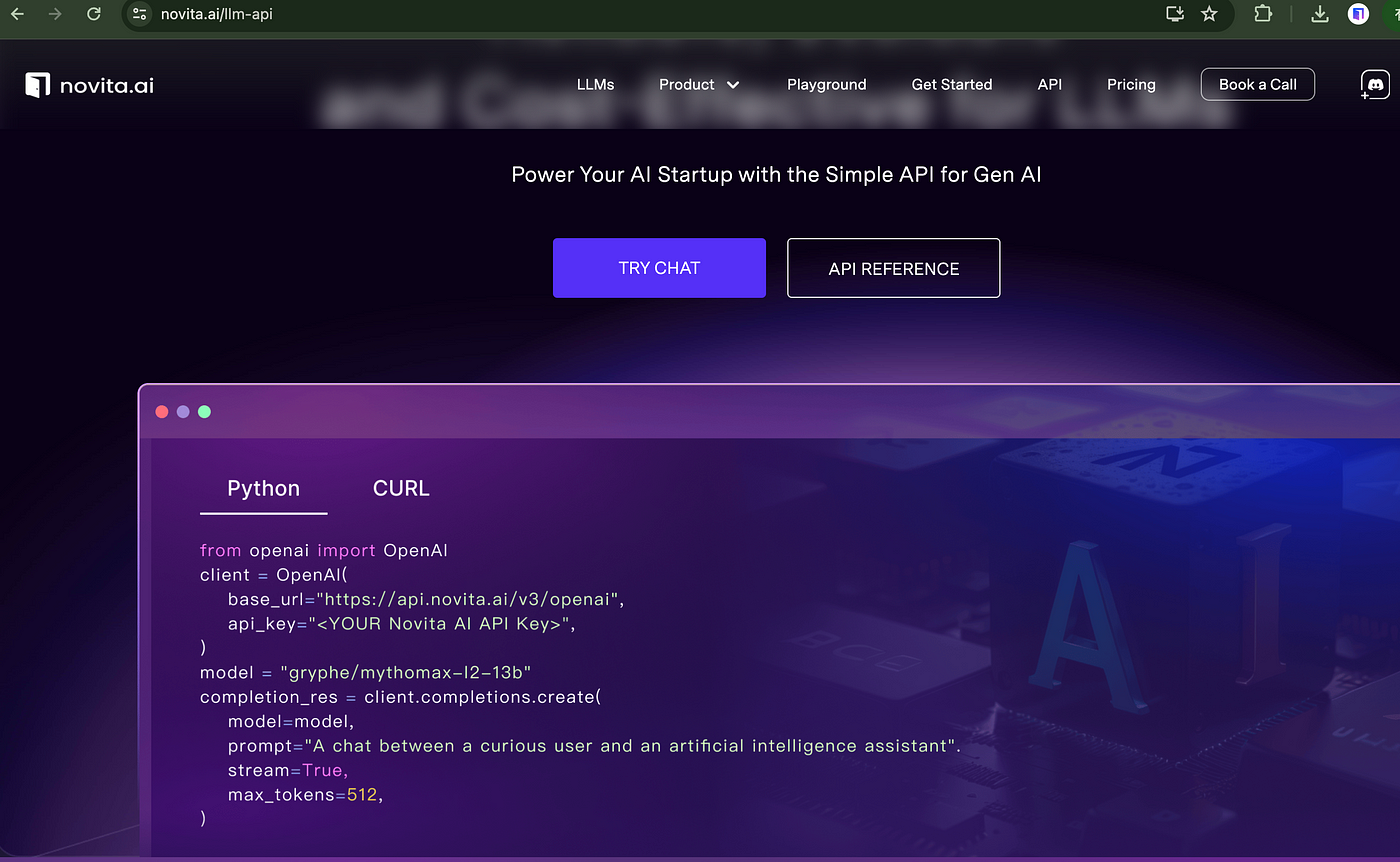
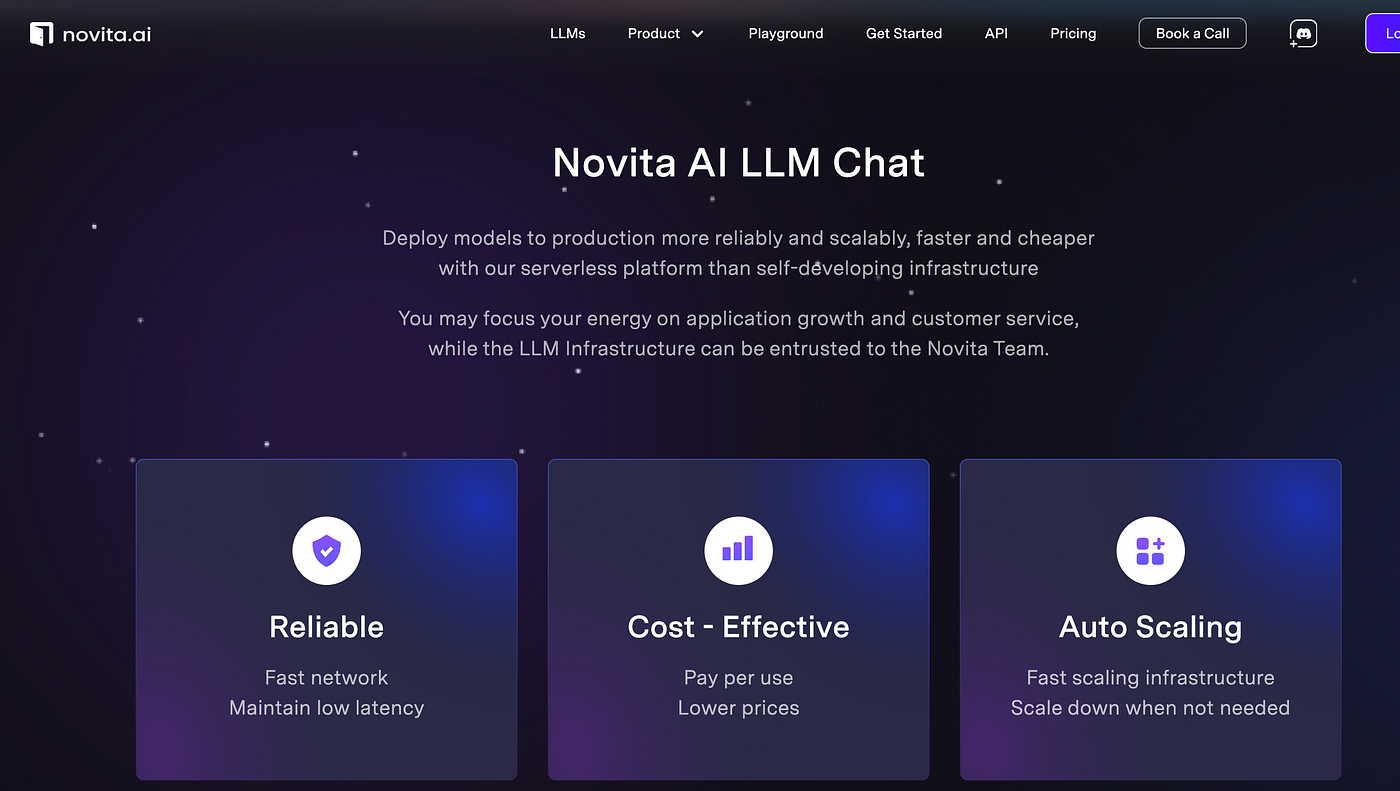
novita.ai LLM uses the OpenAI reverse proxy to enhance the security of their API integration. By configuring the reverse proxy, novita.ai LLM API can shield their sensitive API keys and protect their backend infrastructure from direct external access. This added layer of security ensures that only authorized requests pass through to the OpenAI API, reducing the risk of unauthorized access to the GPT-3 language model and other AI capabilities.
Improving System Performance
Novita.AI also uses the OpenAI reverse proxy to improve the performance of their AI integration. By caching OpenAI API responses, the reverse proxy reduces latency and improves overall performance for users of the company’s application. The caching functionality ensures that frequently requested AI responses are served from the cache, eliminating the need to make repeated requests to the OpenAI API.
Conclusion
In conclusion, setting up an OpenAI Reverse Proxy can significantly enhance your system’s security and performance. By following the step-by-step guide provided, you can ensure a smooth integration with your applications and benefit from advanced configuration options for optimal results.
novita.ai, the one-stop platform for limitless creativity that gives you access to 100+ APIs. From image generation and language processing to audio enhancement and video manipulation,cheap pay-as-you-go , it frees you from GPU maintenance hassles while building your own products. Try it for free.
Recommended reading
What is the difference between LLM and GPT
LLM Leaderboard 2024 Predictions Revealed
Novita AI LLM Inference Engine: the largest throughput and cheapest inference available